
Last Updated:
Key Takeaways
- There is no “HDMI port settings” page—the controls live in three layers. Windows handles resolution and projection; your monitor’s own menu handles input source and overscan; and the GPU control panel handles color format and scaling. Knowing which layer owns which setting ends the search for the right one.
- Windows configures displays, not ports. Settings follow the monitor you connect, not the physical jack. That is why nothing in Windows mentions your HDMI port by name — and why there is no toggle to enable or disable it.
- The settings people call “port settings” mostly live in the GPU panel. Output color format, dynamic range, and GPU scaling sit in the NVIDIA, AMD, or Intel software—including the fix for washed-out, gray-looking blacks on HDMI.
Quick answer: HDMI port settings are split across three places: Windows (Settings → System → Display) for resolution, refresh rate, and projection; the monitor or TV’s own menu for input source and overscan; and the GPU control panel (NVIDIA Control Panel, AMD Software Adrenalin, Intel Arc Control) for color format, dynamic range, and scaling. No single “HDMI” page exists.
Introduction
You searched your PC for the HDMI port settings. Settings app — nothing. Control Panel — nothing. Device Manager — a graphics card, but no port. It starts to feel like Windows is hiding the page.
It is not hiding. The page does not exist — and once you understand why, everything falls into place. HDMI carries signals between three pieces of equipment, and each piece keeps its own settings: Windows controls what your PC sends, the monitor or TV controls what it accepts and how it shows it, and the graphics card’s software controls how the signal is built.
Three layers, three menus, no overlap. Every “HDMI setting” you have ever searched for is located in exactly one of them.
Once you know the three layers, our broader overview of HDMI settings in Windows shows what lives where across all three.
This guide is the map. You will learn what each layer controls, where to find it on Windows 11, and — just as useful — the few things that no setting can change. Home users and office users can follow every step.
Where HDMI Port Settings Really Live
HDMI port settings are divided across three layers. Windows Display settings control resolution, refresh rate, scale, and projection mode. The monitor or TV’s built-in menu controls input source, overscan, and picture mode. The GPU control panel — NVIDIA, AMD, or Intel — controls output color format, dynamic range, and GPU scaling. There is no single HDMI settings page.
Mentally print thats a routing table. Problem with sharpness or size? Layer 1. Wrong source or cut-off edges? Layer 2: Colors look off? Layer 3.
Layer 1: Windows — What Your PC Sends
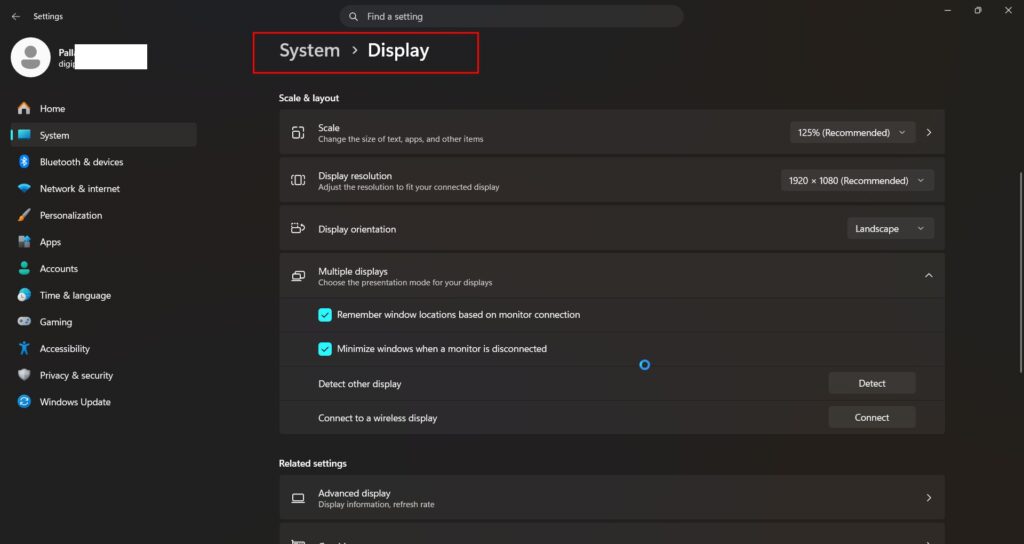
Open Settings → System → Display (or right-click the desktop and select Display settings). This section is the closest thing to Windows HDMI port settings, and here is what it genuinely owns:
- Display resolution — match it to the screen’s native resolution for a sharp picture.
- Refresh rate — under Advanced display; set it to the highest supported by the screen.
- Scale — text and icon size, without touching resolution.
- Multiple displays — arrangement, primary display, and the window-location memory checkbox.
- Projection mode—Duplicate, Extend, or Second screen only; fastest via Windows + P.
The crucial concept: Windows sees displays, not ports. Everything on this page belongs to the monitor you connected, identified by its hardware ID. Plug the same monitor into a different HDMI port, and the settings will follow it. That is why no port appears anywhere—the jack itself is invisible to Windows and always has been.
Resolution and refresh rate get their own deep dive—including greyed-out options and custom modes—in our guide to changing the HDMI output resolution.
Display adapter settings (linked at the bottom of Advanced display) show the graphics adapter driving the screen—useful for confirming which GPU owns the port on a gaming laptop, but they configure the adapter, not the jack.
Layer 2: The Monitor or TV’s Own Menu — What the Screen Accepts
The second layer never touches Windows at all. It lives in the buttons on your monitor or the TV remote, and it owns the settings people most often hunt for in the wrong place:
- Input source selection. Changing the video input to match the HDMI port you plugged into is a remote-control action—the Source/Input button—not a Windows one. HDMI 2 on the menu refers to the jack labeled HDMI 2 on the back.
- Overscan / aspect. Cutoff edges and a missing taskbar are fixed here—look for Just Scan, Screen Fit, or Full Pixel depending on the brand.
- Picture modes, brightness, and contrast. The screen’s hardware processing: Windows has no reach into it.
- Per-input settings. Many monitors remember picture settings per input, which is worth knowing when HDMI 1 looks different from HDMI 2 for no apparent reason.
- HDMI version/mode toggles. Some TVs and monitors ship HDMI ports in a compatibility mode and offer an “HDMI Deep Color,” “Input Signal Plus,” or “Enhanced format” toggle per port—required for “Format” 4K at 60Hz and above. This option is the one true per-port setting in the whole stack, and it lives on the screen, not the PC.
If a setting concerns how the picture is displayed rather than what is sent, it lives here. External monitor settings hunts often end at the monitor’s own buttons, more often than people expect.
Our laptop-to-TV HDMI connection guide walks you through selecting the right input and fixing overscan step by step.
Layer 3: The GPU Control Panel — How the Signal Is Built
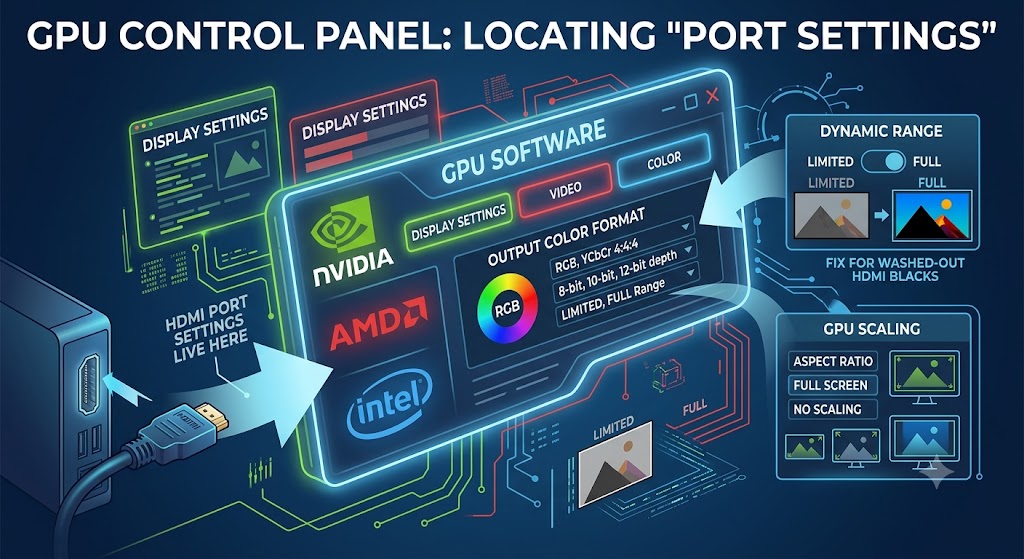
The third layer is the graphics card’s own software, which contains the advanced settings that people usually refer to as “HDMI port settings.”
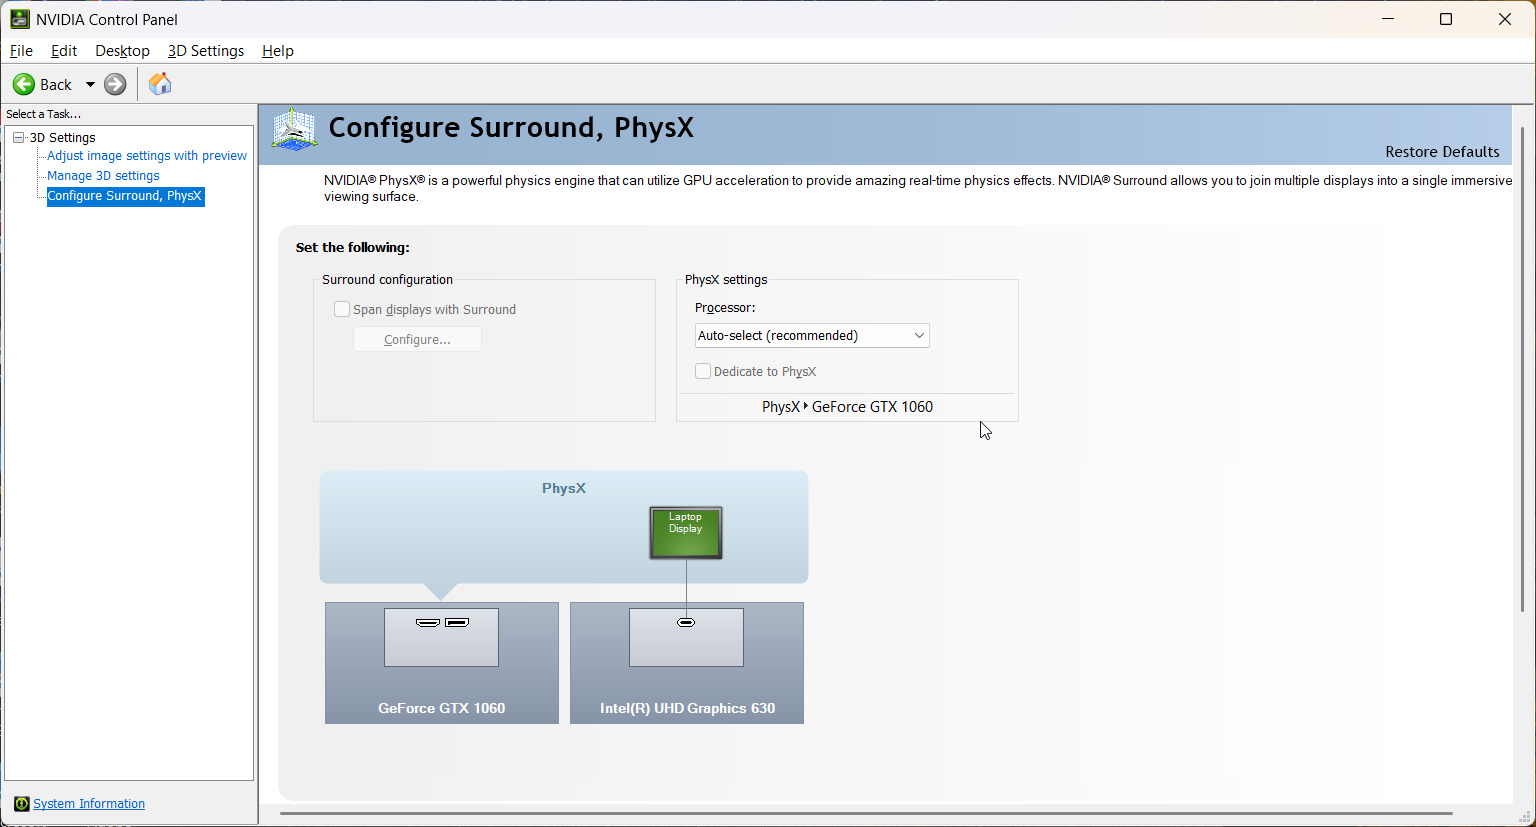
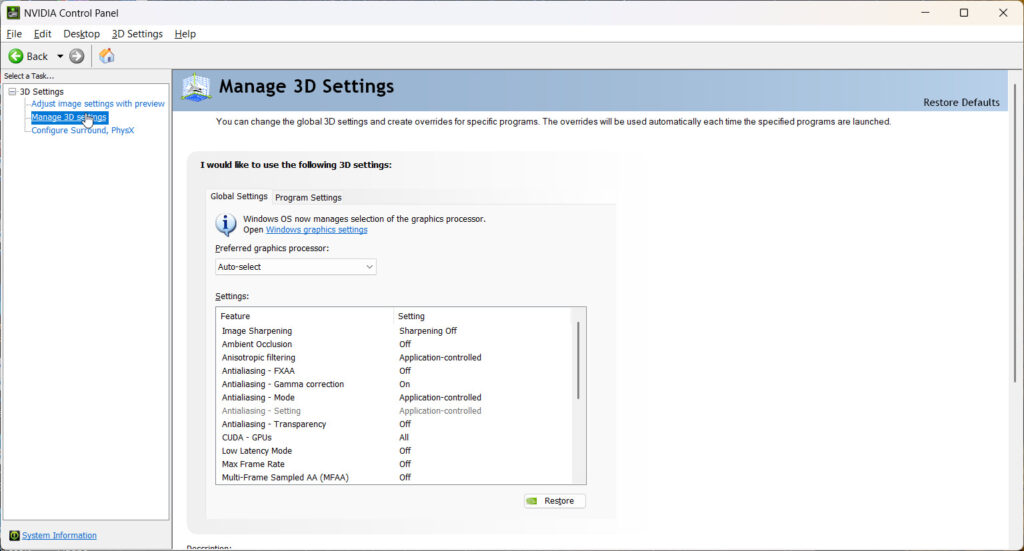
- NVIDIA: the NVIDIA Control Panel (right-click on the desktop) plus the newer NVIDIA app, which has replaced GeForce Experience.
- AMD: AMD Software: Adrenalin Edition.
- Intel: Intel Arc Control on Arc GPUs, or Intel Graphics Command Center on older integrated graphics.
What this layer owns:
Output color format and dynamic range — the big one. In the NVIDIA Control Panel: Display → Change Resolution → set Output color format to RGB and Output dynamic range to Full.
If your desktop looks washed out over HDMI—blacks showing as grey, a hazy, bleached look—the GPU is likely sending limited range (16-235) to a screen expecting full range (0-255).
This mismatch is a documented HDMI-specific quirk, and this dropdown is the solution. AMD’s recent drivers generally default to full-range RGB correctly, but the setting exists there too.
Output color depth — 8-bit versus 10-bit. One honest bandwidth note: on many HDMI connections, you cannot have everything at once—if switching to 10-bit forces the color format from RGB to YCbCr 4:2:2 or 4:2:0, drop back to 8-bit; the format 4:2:2 downgrade costs more than the depth gains.
GPU scaling — the fallback overscan/underscan adjustment when a TV lacks a Just Scan option.
Custom resolutions and refresh rates for screens Windows misdetects.
One rule keeps this layer sane: change a setting only to correct a visible problem. The defaults are right far more often than tweak guides admit.
What No Setting Can Change (The Honest List)
Now half the competitors skip the things people search for that genuinely do not exist:
You cannot enable or disable an HDMI port as a port. There is no toggle, in Windows or BIOS, for one jack. Device Manager can disable the entire graphics adapter — killing every output at once — but never a single port. A dead HDMI port is a hardware or driver issue, not a switched-off setting.
You cannot assign settings to a physical jack. Windows binds settings to the connected display. Move the monitor to another port, and its settings travel with it. The setting is which HDMI port a monitor uses, and it is determined by where you plug in the cable.
On a desktop with multiple outputs, there is no port-selection menu. Which port is “active” is simply where displays are connected, plus which one you mark as primary in display settings.
The one genuine exception lives in BIOS/UEFI: desktops with both integrated and discrete graphics usually offer a Primary Graphics Adapter / Initial Display Output option (iGPU vs. PCIe).
That chooses which GPU’s ports light up during boot — the only place in the entire stack where anything resembling port selection exists. If your monitor is plugged into the motherboard’s HDMI while a graphics card is installed, this BIOS setting (or moving the cable to the card) is the answer to a black screen.
And the port’s direction is fixed. A laptop’s HDMI jack outputs, but nothing is configured to receive it. If that is the question that brought you here, our HDMI input vs. output guide covers the real options.
Quick Answers to the Practical Cases
Does my laptop support HDMI output? Nearly every laptop with an HDMI port outputs through it. Confirm with the port label and the manufacturer’s spec sheet for your exact model. Worth knowing on gaming laptops: the HDMI port is often wired to the discrete GPU rather than the integrated one—good news for performance and G-Sync on external screens.
My HDMI port is not displaying anything and is not detected. Three quick checks before more profound troubleshooting: reseat the cable at both ends, press Windows + Ctrl + Shift + B to restart the graphics driver, and confirm the screen’s input source. If the port stays dead, work through a full no-signal troubleshooting guide—that is a fix job, not a settings job.
Best Practices
- Diagnose by layer: sharpness and size → Windows; source and edges → the screen’s menu; color → the GPU panel.
- Set RGB + full dynamic range in the GPU panel if blacks look grey over HDMI.
- Verify the screen’s per-port “enhanced format” toggle before blaming the PC for missing 4K/60.
- Note which GPU owns your laptop’s HDMI port (display adapter settings) before chasing performance issues.
- Leave GPU panel defaults alone unless you can see the problem they resolve
Common Mistakes to Avoid
- Hunting windows for a port page is a common mistake. It configures displays, not jacks—the page you are imagining does not exist.
- Fix the input source or overscan from the PC. Both live in the screen’s own menu.
- Toggling 10-bit color blindly. If it forces YCbCr 422/420, you traded down; return to 8-bit RGB.
- Disabling the display adapter to “reset a port” kills every output, not just one jack. That kills every output, not one jack.
- Plugging the motherboard’s HDMI with a graphics card installed. Use the card’s ports, or change the BIOS primary display output.
Recommended Tools
- Settings → System → Display — Layer 1, plus Display adapter settings.
- The monitor/TV’s own menu and remote—Layer 2.
- NVIDIA Control Panel / Nvidia app, AMD Software Adrenalin, Intel Arc Control—Layer 3.
- BIOS/UEFI Primary Graphics option—the one real port-adjacent setting, desktops only.
Can you enable or disable an HDMI port in Windows?
No. Windows has no per-port toggle, and Device Manager can only disable the whole graphics adapter, which turns off every output at once. A non-working HDMI port points to the cable, driver, or hardware—not a switched-off setting. First, restart the driver with Windows + Ctrl + Shift + B.
Why do my colors look washed out over HDMI?
Your GPU is probably sending limited dynamic range (16-235) to a screen expecting full (0-255)—a known HDMI quirk that turns blacks grey. In the NVIDIA Control Panel, set the Output color format to RGB and the Output dynamic range to Full under Change resolution. AMD and Intel panels offer the same controls.
How do I set which HDMI output monitor uses?
The cable position you plug into sets the monitor’s HDMI port. It attaches all display settings to the monitor; they follow it across ports. On desktops with integrated and discrete graphics, the BIOS Primary Graphics Adapter option decides which GPU’s ports are active at boot.
Does my laptop support HDMI output, and which GPU drives it?
If your laptop has an HDMI port, it almost certainly outputs through it—confirm on the manufacturer’s spec page for your model. On many gaming laptops, the HDMI port connects to the discrete GPU rather than the integrated graphics; check under Display adapter settings in Advanced display.
Why am I unable to get 4K at 60Hz over my HDMI port?
Check the screen first: many TVs and monitors ship HDMI inputs in a compatibility mode and hide a per-port toggle—named HDMI Deep Color, Input Signal Plus, or Enhanced format—that unlocks full bandwidth. Enable it for your port, then check the refresh rate under Advanced display settings in Windows.
What is the HDMI control panel people mention?
Usually, the GPU software includes the NVIDIA Control Panel, AMD Software Adrenalin Edition, or Intel Arc Control. These hold the signal-level settings—color format, dynamic range, GPU scaling, and custom resolutions. Windows itself has no HDMI-named control panel; the term almost always means the graphics card’s app.
Conclusion
HDMI port settings stop being a mystery the moment you accept the three-layer split. Windows decides what your PC sends — resolution, refresh, projection. The screen’s own menu decides what it accepts—input source, overscan, and the per-port bandwidth toggle. The GPU panel decides how the signal is built—color format, range, and scaling.
And the honest list matters just as much: no per-port toggle exists, settings follow the display rather than the jack, and the only true port-adjacent choice on a PC lives in the BIOS primary-graphics option.
Next time something looks wrong over HDMI, route it first: sharpness to Windows, edges to the screen, colors to the GPU panel. Then tell us in the comments which layer your fix lived in—the answers are surprisingly evenly split, and it helps the next reader route faster.
ENJOYING OUR CONTENT?
Stay up to date with our latest guides, insights, and news. Tap below to follow us directly via your search feed.
