Your laptop behaves like two different machines—fast and bright when charging, dim and sleepy on battery. That’s not a bug. It’s Windows 11 applying separate power rules for each state, and most users never realize they can control it.
Understanding Windows 11 power settings, battery vs. plugged in, is the key to getting the best of both worlds: long battery life when you’re mobile and full performance when you’re at your desk. Get it wrong, and you’ll either drain your battery too fast or throttle your PC when you don’t need to.
In this guide, you’ll learn exactly how to configure separate power settings for battery and AC power—from sleep timers to screen brightness to CPU performance. Whether you’re a home user or office professional, these tweaks will make your laptop work smarter, not harder.
What’s the difference between battery and plugged-in power settings in Windows 11? Windows 11 lets you set separate power behaviors for two states: “On battery” and “Plugged in.” Battery settings prioritize energy savings with shorter sleep and screen timeouts and reduced CPU speed. Plugged-in settings prioritize performance with longer timeouts and full processor power, since energy conservation matters less on AC power.
Why Windows 11 Has Separate Battery and Plugged-In Settings
Laptops face a constant trade-off: performance versus battery life. Windows 11 solves this by letting you define two independent profiles—one for when you’re running on battery and one for when you’re plugged into mains power.
The logic is simple:
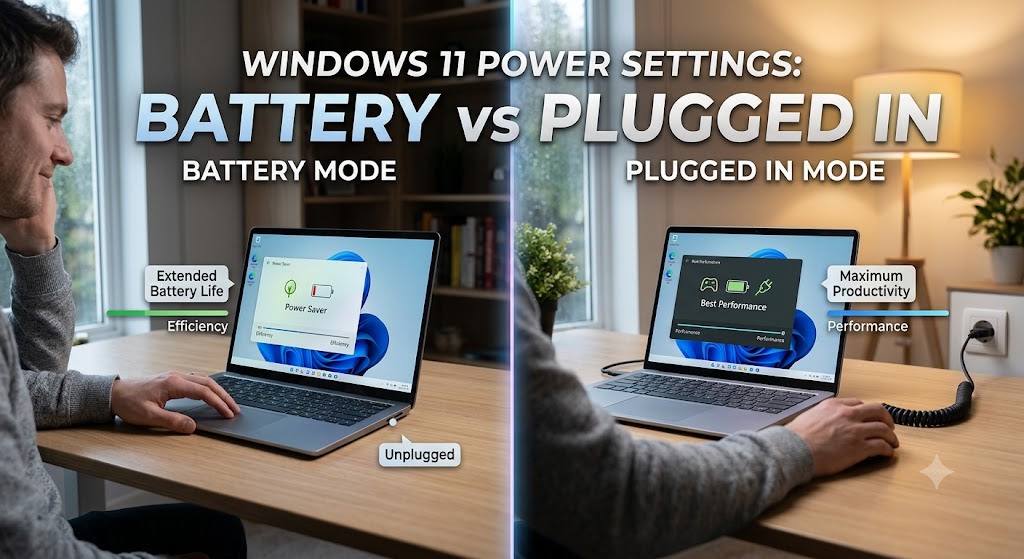
- On battery → conserve energy, extend runtime
- Plugged in → maximize performance, energy is unlimited
This dual-state system means your laptop can automatically dim the screen and sleep sooner when unplugged, then switch to full brightness and performance the moment you connect the charger. Desktop PCs don’t have this distinction — they only ever show “plugged in” settings.
Which Settings Can Be Configured Separately?
Windows 11 lets you set different values for battery and plugged-in states across several key areas:
- Screen timeout — how long before the display turns off
- Sleep timeout — how long before the PC sleeps
- Screen brightness — often dimmer on battery by default
- CPU performance — processor speed can be capped on battery
- Power mode—Best Power Efficiency vs Best Performance
Each of these can be tuned independently, giving you precise control over how your laptop behaves in each case.
Related Post – Choosing the right Windows 11 power plan – Clear Details
How to Set Different Screen and Sleep Timers for Battery vs Plugged In
This is the most useful and commonly adjusted setting. Here’s how to configure it.
Steps:
- Press Windows + I to open Settings
- Go to System → Power & battery
- Click Screen and sleep to expand it
- You’ll see four separate options:
- On battery power, turn off my screen after
- When plugged in, turn off my screen after
- On battery power, put my device to sleep after
- When plugged in, put my device to sleep after
- Set each value to suit your needs
✅ Practical Example: Set the screen to turn off after 3 minutes on battery but 15 minutes when plugged in. This saves power when mobile without constantly interrupting desk work.
How to Adjust Power Mode for Battery vs Plugged In
Windows 11 includes a Power Mode slider that balances performance and efficiency. You can set a different mode for each power state.
Steps:
- Go to Settings → System → Power & battery
- Find Power mode
- Choose from:
- Best Power Efficiency — maximizes battery life
- Balanced — the default middle ground
- Best Performance — full speed, higher energy use
💡 Tip: Many users set Best Performance while plugged in and Best Power Efficiency on battery. Note that on some devices, the power mode applies globally—so check whether your laptop allows per-state settings or remembers your choice when you unplug.
How to Configure Advanced CPU Settings for Each Power State
For deeper control, the classic Power Options panel lets you cap your processor’s maximum speed separately for battery and AC power.
Steps:
- Press Win + R, type
powercfg.cpl, press Enter - Click “Change plan settings” next to your active plan
- Click “Change advanced power settings”
- Expand Processor power management → Maximum processor state
- Set separate values, for example:
- On battery: 80% (cooler, longer runtime)
- Plugged in: 100% (full performance)
- Click Apply → OK
Capping the CPU on battery to 80% noticeably extends runtime and reduces heat, with minimal impact on everyday tasks like browsing and document editing.
Optimizing Screen Brightness for Battery vs Plugged In
Screen brightness is one of the biggest battery drains on any laptop. Windows 11 can automatically lower brightnethe brightness whenery.
Steps:
- Go to Settings → System → Display → Brightness
- Expand the brightness options
- Enable “Change brightness automatically when lighting changes” for adaptive control
- Manually set a lower brightness while on battery
According to display power studies, screen brightness can account for up to 30–40% of a laptop’s total power consumption—making this one of the highest-impact battery settings you can adjust. This is especially relevant for European users mindful of energy efficiency.
Best Practices for Battery vs Plugged-In Settings
- ✅ Set shorter sleep and screen timers on battery and longer when plugged in
- ✅ Use Best Power Efficiency on battery and Best Performance when charging
- ✅ Cap maximum processor state to 80% on battery for cooler, longer runtime
- ✅ Lower screen brightness on battery — it’s the single biggest power saver
- ✅ Enable Battery Saver to trigger automatically at 20% (or higher)
- ✅ Recheck these settings after major Windows 11 updates, which can reset them
Using Battery Saver to Automate Power Management
Windows 11’s Battery Saver feature automatically reduces background activity and performance when your battery runs low. It’s a smart safety net.
Steps:
- Go to Settings → System → Power & battery
- Click Battery Saver
- Set “Turn battery saver on automatically at” to 20% (or higher, like 30%)
- Optionally enable “Lower screen brightness when using battery saver”
This ensures your laptop automatically shifts into conservation mode when it matters most — without you needing to remember.
Common Mistakes to Avoid
1. Using the same settings for both states The whole point of dual settings is flexibility. Setting identical values for battery and plugged in wastes either performance or battery life.
2. Setting sleep to “Never” on battery If you set battery sleep to Never and forget to plug in, your laptop can drain completely. Always keep a reasonable battery sleep timer.
3. Maxing CPU on battery Running the processor at 100% on battery generates heat and drains power fast. Cap it to 80% for a better balance on the go.
4. Ignoring settings after updates: Windows 11 feature updates (like 23H2 and 24H2) have been reported to reset power configurations. Always verify your battery vs. plugged-in settings after a major update.
Related Post – Get to Know maximum performance mode in Power Settings Windows 11
Recommended Tools
- Settings → Power & battery (built-in) — The main hub for all battery vs plugged-in controls
- powercfg.cpl (built-in) — Advanced Power Options for granular CPU and disk settings
- Battery usage graph (built-in) — In Settings → Power & battery, see which apps drain the most power
- BatteryInfoView (free) — Third-party tool to monitor detailed battery health and charge/discharge rates
FAQ: Windows 11 Power Settings: Battery vs Plugged In
Why is my Windows 11 laptop slower on battery than when plugged in?
This is by design. Windows 11 reduces CPU speed and switches to a power-saving mode on battery to extend its runtime. If it’s too slow, change the Power Mode to Balanced or increase the maximum processor state on battery via advanced power settings in Control Panel.
Should I cap my CPU at 80% on battery in Windows 11?
Yes, for most users. Capping the maximum processor state to 80% on battery significantly reduces heat and extends runtime with little noticeable impact on everyday tasks. Keep it at 100% when plugged in to enjoy full performance during demanding work.
Does screen brightness really affect battery life that much in Windows 11?
Yes, significantly. The display is one of the largest power consumers in any laptop, accounting for up to 30–40% of total consumption. Lowering brightness on battery is one of the most effective ways to extend runtime, especially during light tasks like reading or browsing.
What’s the best power mode for battery in Windows 11?
Best Power Efficiency is the best power mode for the battery. It reduces CPU speed and background activity to maximize runtime. When plugged in, switch to Best Performance for full speed. Many laptops let you set different modes for each state automatically.
Does plugging in my laptop always give full performance in Windows 11?
Not automatically. While plugged in, it removes battery-saving restrictions; you should verify your plugged-in power mode is set to Balanced or Best Performance and your maximum processor state is 100%. Some laptops default to conservative settings even on AC power.
Conclusion
Mastering Windows 11 power settings for battery vs. plugged in turns your laptop into a smarter machine—one that conserves energy when you’re mobile and unleashes full power when you’re at your desk.
The winning formula is simple:
- On battery: shorter timers, lower brightness, CPU capped at 80%, Best Power Efficiency
- Plugged in: longer timers, full brightness, CPU at 100%, Best Performance
These small adjustments add up to longer battery life, cooler operation, and better performance exactly when you need it. Take five minutes today to configure both states—and remember to recheck them after major Windows updates.
Your laptop already has two personalities. Now you’re in control of both.