If you’ve encountered the error message “The app you’re trying to install isn’t a Microsoft-verified app” while attempting to install an application on your Windows 10 device, don’t worry.
This is a common issue that many users face, and it’s usually related to the Windows SmartScreen feature, which is designed to protect your system from potentially harmful software. In this guide, we’ll walk you through three simple steps to resolve this issue and successfully install your desired application.
Step 1: Temporarily Disable Windows SmartScreen
The first step in resolving the “The app you’re trying to install isn’t a Microsoft-verified app” error is to temporarily disable the Windows SmartScreen feature.
SmartScreen is a built-in security feature that helps prevent the installation of unrecognized apps that might pose a risk to your system. However, sometimes it can block legitimate applications from being installed. Here’s how you can disable SmartScreen:
- Open the Windows Settings by pressing the Windows key + I or by clicking on the Start menu and selecting the gear icon.
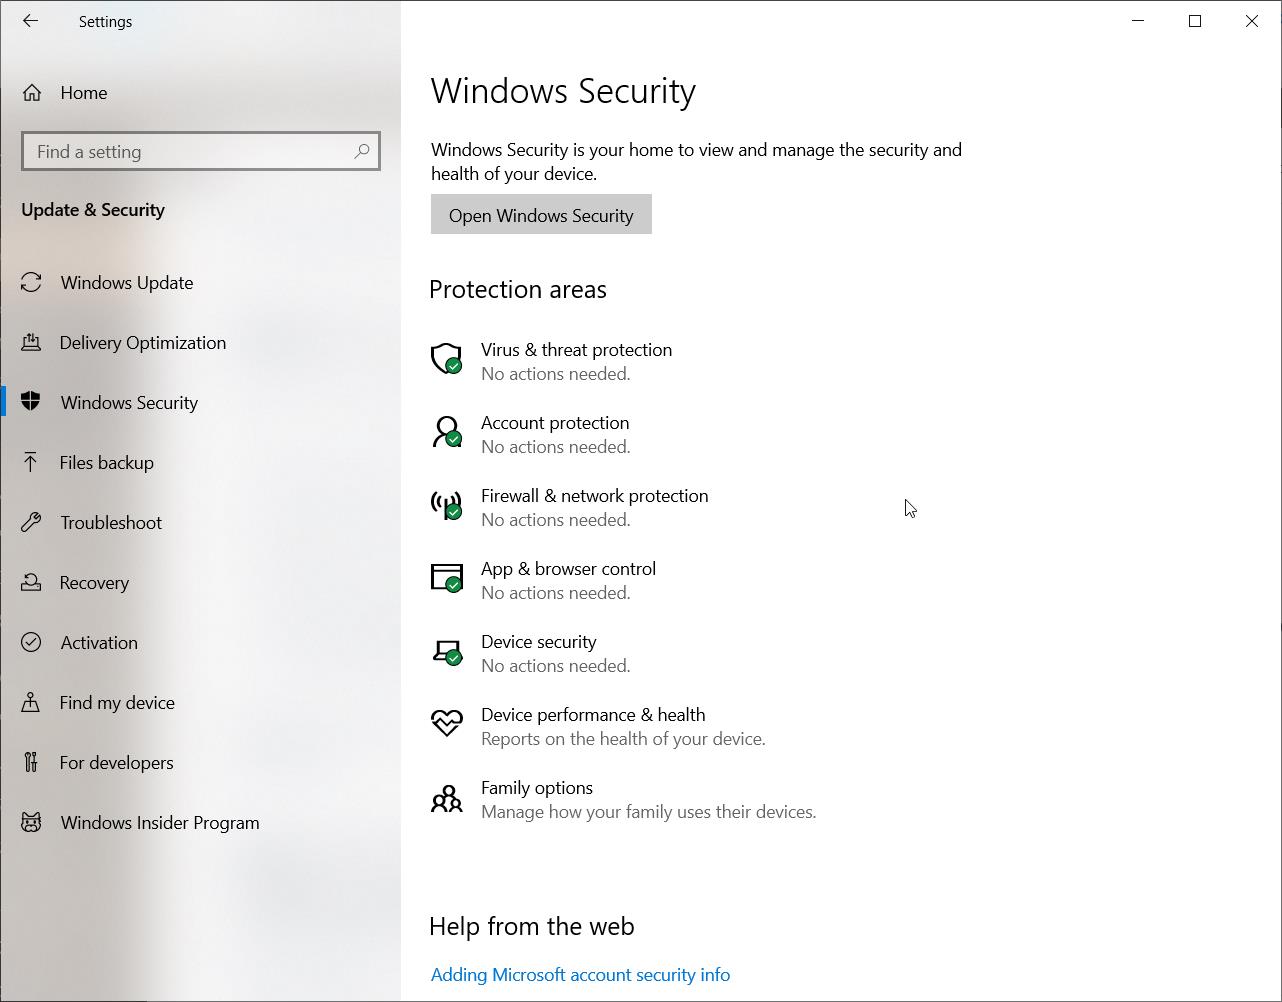
- Navigate to the “Update & Security” section.
- In the left sidebar, click on “Windows Security.”
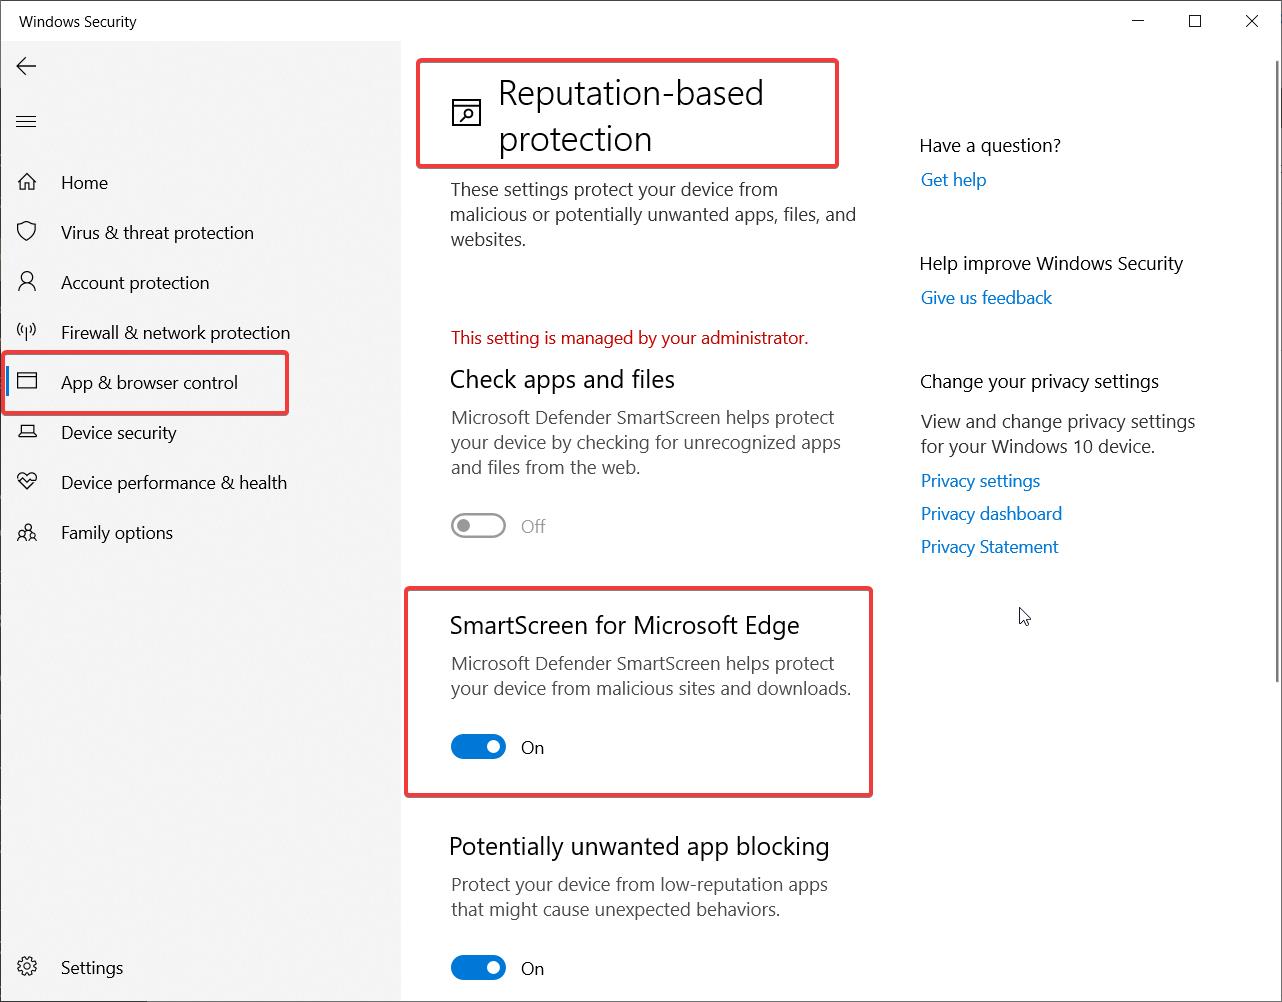
- Under the “Protection areas” section, click on “App & browser control.”
- Scroll down to the “Reputation-based protection” section and click on “Reputation-based protection settings.”
- Under “Check apps and files,” select “Off” to disable SmartScreen.
- Click “OK” to save the changes.
By disabling SmartScreen, you’re allowing the installation of apps that aren’t Microsoft-verified. However, it’s essential to exercise caution when installing applications from untrusted sources, as they may contain malware or other security threats. Make sure you trust the source of the app you’re trying to install before proceeding.
Step 2: Attempt to Install the Application Again
Now that you’ve disabled Windows SmartScreen, you can try installing the application again. Follow these steps:
- Locate the installation file for the app you want to install. This could be an executable file (.exe) or a setup file.
- Double-click on the installation file to begin the installation process.
- If you’re prompted with a User Account Control (UAC) dialog box, click “Yes” to allow the installation to proceed.
- Follow the on-screen instructions provided by the app’s installer. This may include accepting the End-User License Agreement (EULA), selecting the installation location, and configuring any additional settings.
- Once the installation is complete, you should be able to launch and use the app without encountering the “The app you’re trying to install isn’t a Microsoft-verified app” error.
If the installation is successful, congratulations! You’ve successfully resolved the issue and can now use your desired application.
Step 3: Re-enable Windows SmartScreen (Recommended)
After successfully installing the application, it’s strongly recommended to re-enable the Windows SmartScreen feature. SmartScreen plays a crucial role in protecting your system from potential security threats, and keeping it disabled for an extended period can leave your device vulnerable. Here’s how you can re-enable SmartScreen:
- Open the Windows Settings once again by pressing the Windows key + I or by clicking on the Start menu and selecting the gear icon.
- Go to the “Update & Security” section.
- Click on “Windows Security” in the left sidebar.
- Under the “Protection areas” section, click on “App & browser control.”
- Scroll down to the “Reputation-based protection” section and click on “Reputation-based protection settings.”
- Under “Check apps and files,” select “Warn” or “Block” to re-enable SmartScreen protection. “Warn” will display a warning message when an unrecognized app is being installed, allowing you to make an informed decision, while “Block” will automatically prevent the installation of such apps.
- Click “OK” to save the changes.
By re-enabling SmartScreen, you’re restoring the default security settings and ensuring that your system is protected against potential threats moving forward. It’s important to keep SmartScreen enabled unless you have a specific reason to disable it temporarily, such as installing a trusted application that triggers the “The app you’re trying to install isn’t a Microsoft-verified app” error.
Conclusion
Encountering the “The app you’re trying to install isn’t a Microsoft-verified app” error can be frustrating, but by following these three simple steps, you can quickly resolve the issue and install your desired application.
Remember to exercise caution when disabling Windows SmartScreen and installing apps from untrusted sources, as they may pose security risks to your system.
Always re-enable SmartScreen after successfully installing the app to maintain the security and integrity of your Windows 10 device.
If you continue to face issues or have concerns about the safety of an application, it’s advisable to seek further guidance from reliable sources or consult with a technical expert before proceeding with the installation.