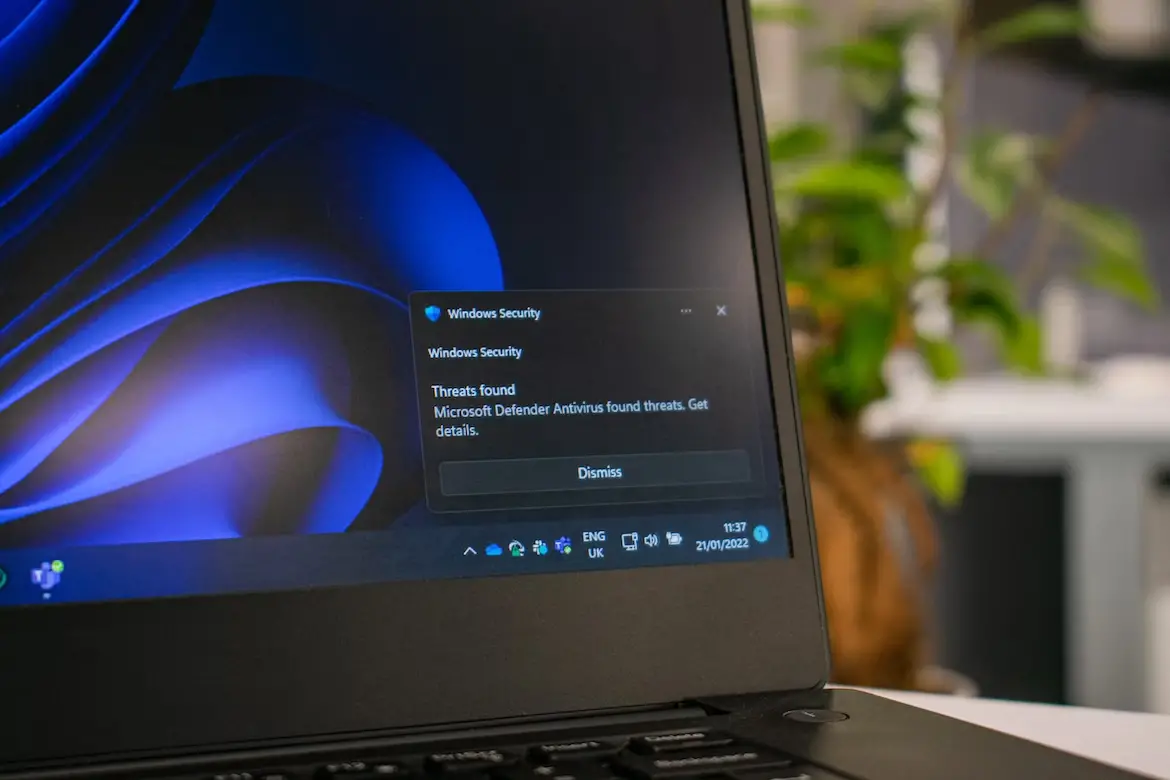
It’s important to acknowledge the various threats that computer users face today, such as ransomware and phishing. Setting aside time to update your Windows security, including Windows Internet security settings, is crucial. We offer a quick and easy guide to empowering digital fortress.

Top Windows Cybersecurity Tips
Disable Windows 10 Automatic Login
When you first set up a new PC with Windows 10, you’ll create a user account. By default, your account is set to log in automatically at startup. This might not be an issue if you’re consistently at home or if you don’t have access to sensitive data.
However, it can pose a serious security risk if someone can easily open your computer and gain immediate access to your data and company systems. This is particularly crucial when you travel with a laptop and take it with you to places like coffee shops, airports, or open co-working spaces.
Depending on your company’s security policies, this may also be a requirement from your employer.
Install VPN
VPN for Windows is a powerful tool for improving cyber security. It creates a secure, encrypted tunnel that outsiders cannot break into. True, encryption can slow down the speed of the Internet a little. However, some providers offer servers with rather low bandwidth.
There is a simple solution – VeePN for your platform. Even on Windows, you can install either the VeePN program, which will protect all connections from a PC, or just a browser extension, or even install a VPN on a router.
Another advantage of a VPN is access to any content in the world, regardless of its regional restrictions. In particular, VeePN has a free trial, so you can test the service yourself.
Create Your Save Point
When you get a new Windows 10 machine, the first thing you should do is enable the system restore. Think of it as a save point for your machine.
If things go wrong while setting up a safer machine, you can go back to this nice fresh installation and start afresh. Since it’s disabled by default in Windows 10, you’ll need to manually enable it by following these steps:
- Go to the Windows Cortana search box and type “system restore.”
- Select the Control Panel and click on “Create a restore point.”
- When the System Properties dialog box appears, click on the “System Protection” tab.
- Choose the drive where Windows is installed. For most people, this is the C drive.
- Click on “Configure.”
- Turn on system protection and click “OK.”
Turn On Your Firewall
Just wanted to mention that in recent versions of Windows, like Windows 10/11, the firewall is enabled by default. Pretty simple, right? You’re probably good to go! But it’s always a good idea to double-check your settings to make sure that the firewall hasn’t been turned off.
Windows Firewall is a built-in network security system. Its main purpose is to prevent unauthorized access to your private network, whether it’s from the internet or from within the network itself.
Network firewalls are commonly used to keep those pesky unauthorized internet users away from private networks connected to the internet, especially intranets. Only you have to remember that if you allow connection for Firefox, then all connections from the browser will be allowed. To further protect yourself, you should use the Firefox VPN extension, the same applies to other browsers. The firewall acts as a gatekeeper, examining each message that goes in and out of the network and blocking those that don’t meet the specified security criteria.
Shut Down Stalkerware
Windows 10 automatically tracks your location and monitors your behavior to sell advertising. Here’s how you can turn off both of these features and enhance your privacy:
- Start by going to Settings from the Start menu.
- Look for the padlock-shaped icon named Privacy and click on it.
- In the Privacy settings, select Location, and toggle off the switch to disable location tracking.
- To disable ad tracking:
- Navigate back to the Privacy screen.
6. Look for the setting that allows apps to use your advertising ID, and turn it off.
This will make ads less personalized based on your app activity.

Enable Anti-Ransomware Features
Ransomware is a type of malware that not only encrypts your files but can also lock you out of your computer until you pay a ransom. Here’s what you can do to enable ransomware protection on Windows 10 or 11:
- Open the Windows Security app.
- Click on Virus & threat protection.
- Look for Ransomware protection and click on Manage ransomware protection.
- Turn on controlled folder access if it’s turned off, and select the folders you want to protect.
- If you want to add more protected folders, simply click on + Add a protected folder.
- To remove protection from a folder, select it and choose Remove.
Conclusion
Windows Security is an essential aspect of using your computer, and the security measures you take should be regularly updated. Set aside some time to review all the settings that are available on Windows 10 and 11 and give yourself peace of mind knowing that your digital fortress is secure. Stay safe online!


![[Tutorial] : How to Setup VPN Server in Windows 10 and 7 [Built-In]](https://www.windowstechit.com/wp-content/images357/2012/09/vpn-server-setup-fields-windows-10-768x410.png)


