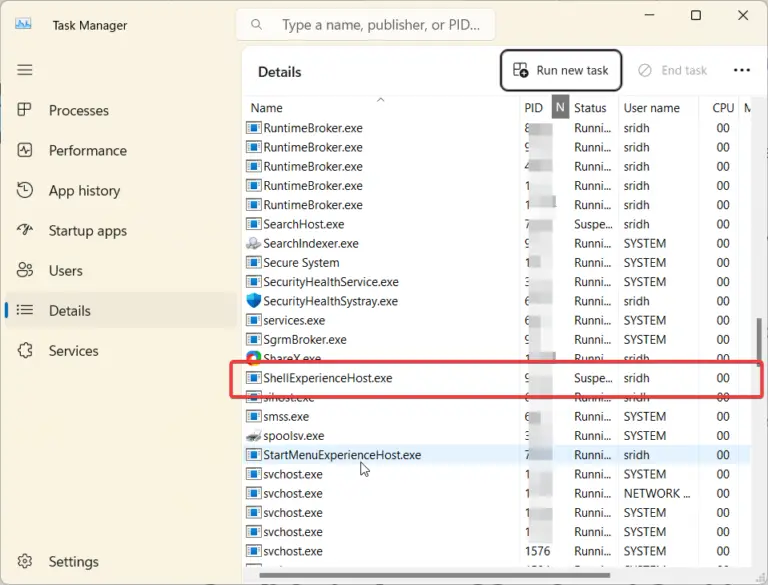
Error code 0x800f0991 is an issue that can occur when attempting to update Windows 11. This error is often accompanied by a message stating, “There were some problems installing updates, but we’ll try again later.” If you’ve encountered this error, don’t worry – there are several solutions you can try to get your system running smoothly again.
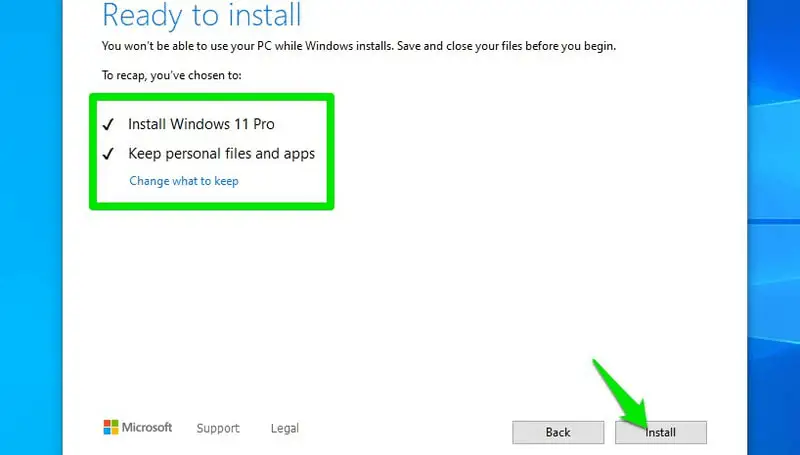
The best solution that worked on Microsoft forums is to do an in-place upgrade. This will in most cases resolve update errors, repair broken operating system files, personal files, system files, apps, settings and many other things. Doing an in-place upgrade will not delete your apps or installed applications. You can also keep your personal files and settings.
Before that you can try 2 things that can resolve the error 0x800f0991.
- Go to Windows 11 website: https://www.microsoft.com/en-us/software-download/windows11
- Mount the ISO and run the setup.exe.
- Install the Windows 11. Keep Personal files and apps.
- Restart will occur several times and finally login screen will come.
In this blog post, we’ll explore five alternate methods to resolve error code 0x800f0991 in Windows 11.
Solution 1: Run the Windows Update Troubleshooter
- Press the Windows key + I to open the Settings app.
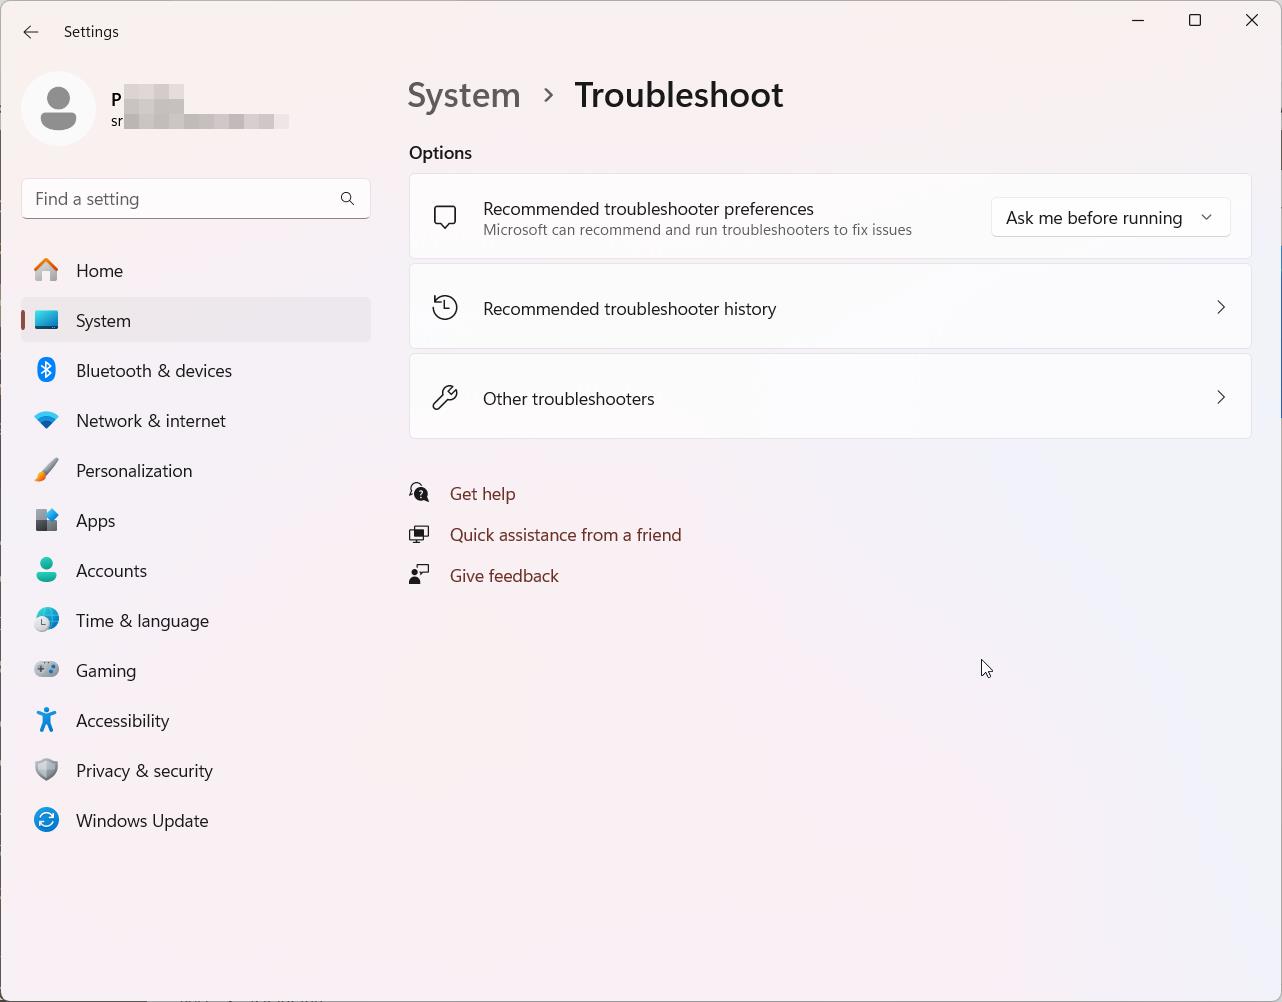
- Click on “System” and then select “Troubleshoot.”
- Under “Other troubleshooters,” locate and click on “Windows Update.”
- Click “Run the troubleshooter” and allow it to detect and fix any issues automatically.
Fix 0x800f0991: Reset the Windows Update Components
- Press the Windows key + R to open the Run dialog box.
- Type “cmd” and press Ctrl + Shift + Enter to open Command Prompt with administrator privileges.
- Run the following commands one by one, pressing Enter after each:
- net stop wuauserv
- net stop cryptSvc
- net stop bits
- net stop msiserver
- ren C:\Windows\SoftwareDistribution SoftwareDistribution.old
- ren C:\Windows\System32\catroot2 Catroot2.old
- net start wuauserv
- net start cryptSvc
- net start bits
- net start msiserver
Restart your computer and check for updates again.
Solution 3: Perform a Clean Boot
- Press the Windows key + R to open the Run dialog box.
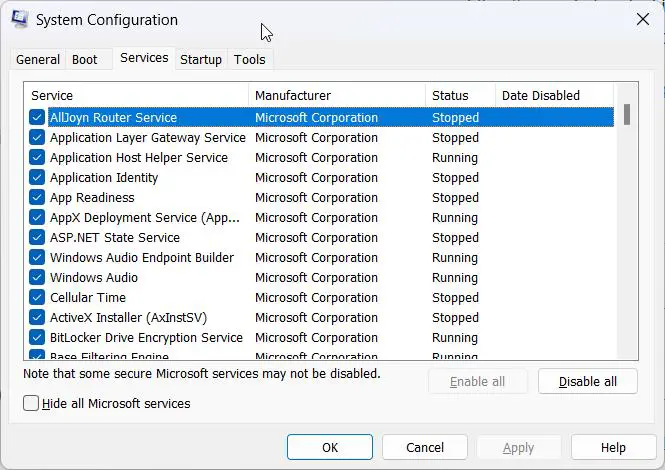
- Type “msconfig” and press Enter to open the System Configuration window.
- Click on the “Services” tab and check the box next to “Hide all Microsoft services.”
- Click “Disable all” to disable all third-party services.
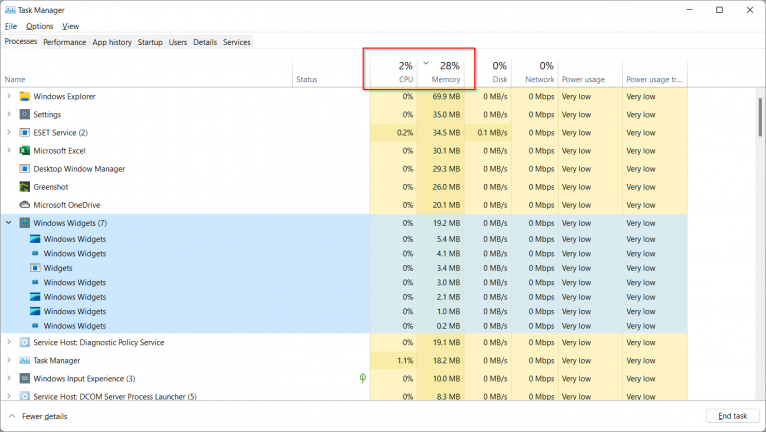
- Click on the “Startup” tab and then click “Open Task Manager.”
- In the Task Manager, disable all startup items.
- Close the Task Manager and click “OK” in the System Configuration window.
- Restart your computer and attempt to update Windows.
Solution 4: Download and Install Updates Manually
- Visit the Microsoft Update Catalog website.
- Search for the specific updates that are failing to install on your system.
- Download the appropriate update files for your version of Windows 11.
- Double-click on the downloaded update files to install them manually.
Solution 5: Perform a Clean Install of Windows 11
- Back up your important files and data.
- Download the Windows 11 ISO file from the Microsoft website.
- Create a bootable USB drive using the Media Creation Tool or a third-party tool like Rufus.
- Boot from the USB drive and follow the on-screen instructions to perform a clean install of Windows 11.
- After the installation, ensure that your system is up to date by running Windows Update.
Conclusion
Error code 0x800f0991 can be a frustrating issue to deal with, but by following these five solutions, you should be able to resolve the problem and successfully update your Windows 11 installation. If the issue persists, consider reaching out to Microsoft support or a professional technician for further assistance.


![Change Default Download Location in Windows 11 [Including Edge and Chrome]](https://www.windowstechit.com/wp-content/images357/2023/08/where-new-content-saved-windows-11-768x572.png)
