Last Updated:
Upgrading your Windows 10 PC to the latest Windows 11 version is easy with an in-place upgrade. This process upgrades your existing Windows installation to Windows 11 while preserving all your apps, settings, and data.
In this guide, we’ll cover when an in-place upgrade makes sense compared to a clean install, walk through the step-by-step process, and troubleshoot common issues.
Overview of In-Place Upgrades
An in-place upgrade allows you to upgrade the existing Windows on your PC to a newer version like Windows 11. This upgrades core system files and settings while migrating your programs, personal files, and configuration intact.
Benefits of in-place upgrade:
- Keeps all your apps, drivers, and custom settings
- Less disruptive process compared to clean install
- Saves time reinstalling programs and configuring OS
- Preserves data without needing to back up and restore
Downsides to consider:
- Could carry over old bugs and driver issues from previous build
- Less control than clean install with OS customization
- Requires sufficient free disk space for temporary files
- Small risk of data loss if upgrade fails
In most cases, in-place upgrades go smoothly and are less hassle than wiping your PC and starting fresh. But a clean install offers more flexibility for advanced users.
When Should You Consider an In-Place Upgrade?
If your Windows 10 PC meets the minimum system requirements, an in-place upgrade to Windows 11 is a viable option when:
- You want to retain all installed programs and app data
- You have your OS customized and don’t want to reconfigure
- You want the least disruptive and simplest upgrade process
Reasons to opt for a clean install instead:
- You have an older PC and want to rule out legacy driver issues
- Your Windows 10 installation has bugs or problems
- You don’t mind reinstalling programs and reconfiguring OS
- You want full control to selectively import data and apps
Step-by-Step Guide to In-Place Upgrade to Windows 11
Follow these steps to do an in-place upgrade of your Windows 10 PC to Windows 11:
Check system compatibility
- Go to Settings > System > Health & Security. Look under Windows specifications.
- Verify your PC meets the minimum Windows 11 system requirements. Specifically, your PC should support TPM 2.0 and Secure Boot.
- Resolve any flagged compatibility issues. You may need UEFI firmware updates.
Back up your data
- As a precaution, do a full system backup to an external hard drive.
- Alternatively, at minimum, back up key data like documents, photos, and desktop files.
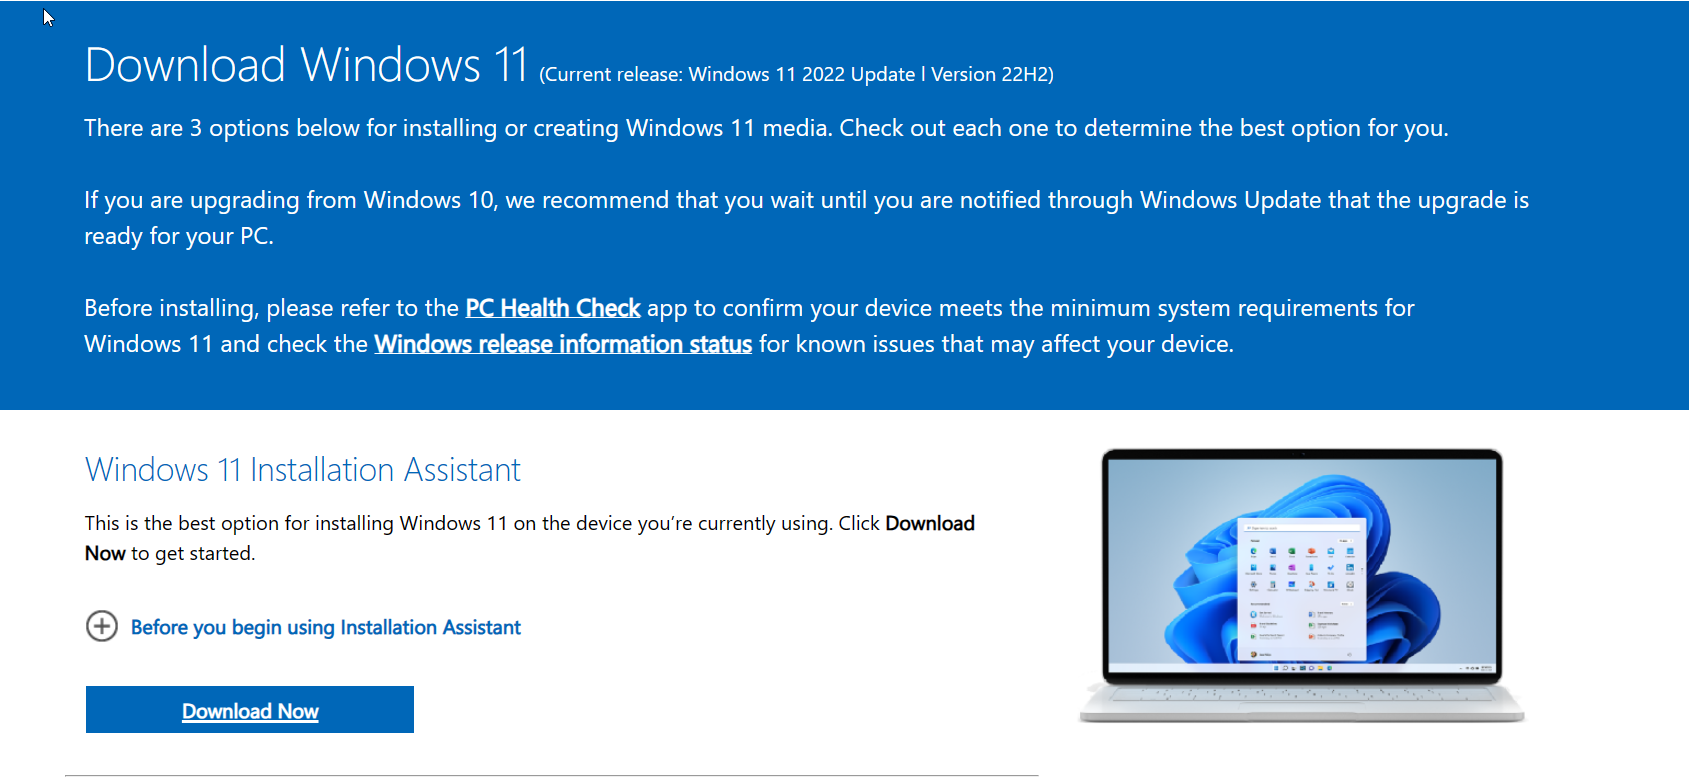
Download Windows 11 installation media
- Go to Microsoft’s website and download the Windows 11 installation assistant.
- Run the assistant, and it will download Windows 11 as an ISO file.
Alternatively, use the Media Creation Tool to download Windows 11 and create a bootable USB drive.
Perform the in-place upgrade
- Double-click the Windows 11 ISO file and launch the installer.
- Please review and accept the license terms, then select Upgrade this PC now to begin the in-place upgrade process.
- The upgrade will take around 15-60 minutes to complete depending on your system. Be patient and do not interrupt it.
- Once finished, your PC will boot into Windows 11 with all your data and apps migrated!
Troubleshooting Common In-Place Upgrade Issues
In-place upgrades usually go smoothly but occasionally run into problems. Here are some common errors and fixes:
- The error code 0xc1900101 usually indicates that incompatible drivers or services are preventing the upgrade. Try updating drivers and disabling non-Microsoft services.
- TPM or Secure Boot errors—Enabling CSM/Legacy BIOS modes in UEFI settings may resolve the issue. Some systems won’t support TPM/Secure Boot, though.
- Roll back to Windows 10—If the upgrade fails badly, you can roll back to your previous Windows 10 build within 10 days through Recovery options.
- Clean install instead—If you hit stubborn issues, a fresh, clean install of Windows 11 may be more stable than trying to in-place upgrade from an older, buggy Windows 10 build.
Summary and Next Steps After Upgrading to Windows 11
Once you’ve completed the in-place upgrade, your PC will be running Windows 11 with all your data and configuration preserved!
Next steps:
- Update drivers, particularly graphics, using Windows Update.
- Download the latest app updates, like for Microsoft Office.
- Customize OS settings like theme colors to your preferences.
- Check for any post-upgrade issues and troubleshoot as needed.
- Consider resetting default apps for things like email and web browsers if desired.
With an in-place upgrade, the process of moving to Windows 11 is straightforward while keeping everything intact on your PC. Just be sure to back up critical data beforehand as a precaution.