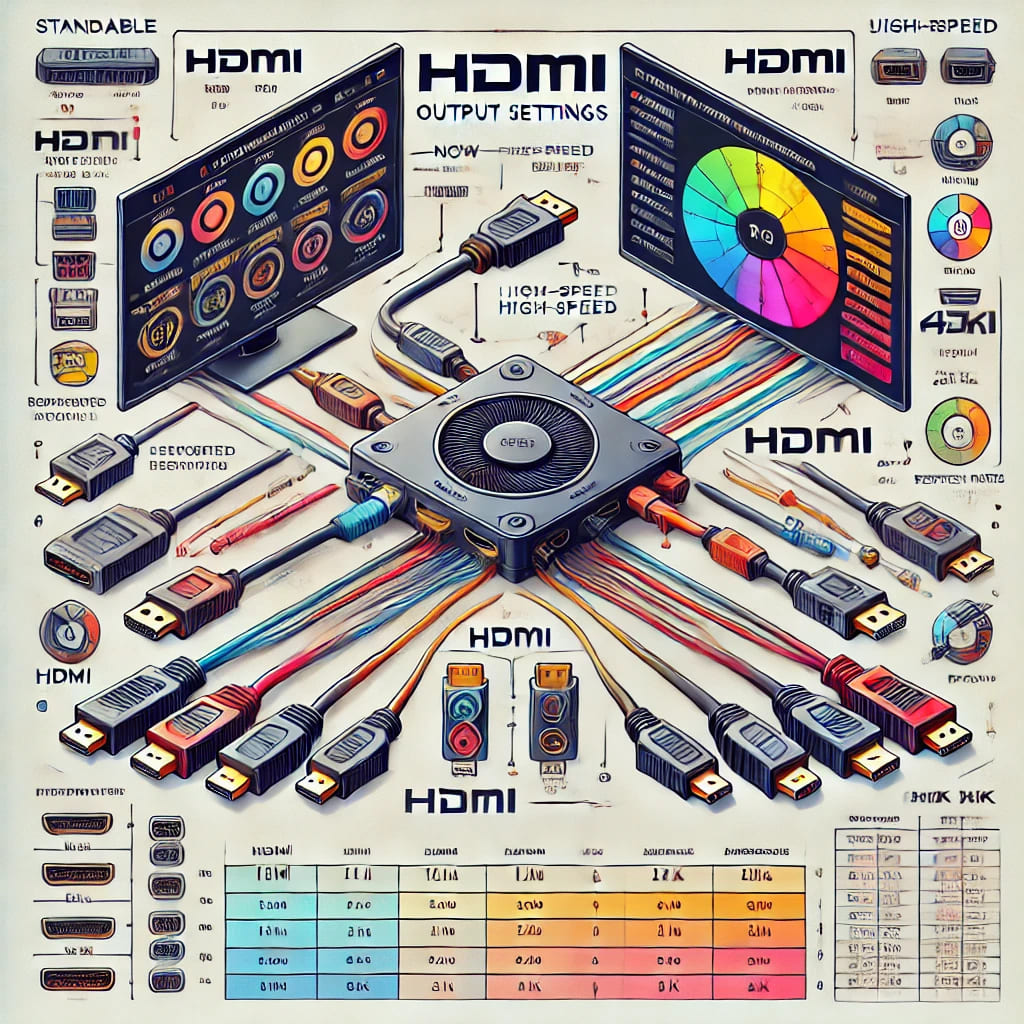
HDMI (High-Definition Multimedia Interface) has become the go-to standard for connecting devices to displays, offering both high-quality video and audio signals through a single cable.
Whether you’re connecting your laptop to a TV, a PC to an external monitor, or a projector for a presentation, understanding HDMI output settings is crucial to get the most out of your display.
These settings help you adjust and optimize the video resolution, refresh rate, aspect ratio, and audio settings, ensuring a seamless multimedia experience.
When you connect your Windows 11 device to an HDMI-supported display, you may encounter issues related to resolution, screen flickering, or audio output. Fortunately, these problems are usually easy to fix by adjusting the HDMI output settings.
A simple configuration tweak can resolve issues like the screen not displaying correctly, the image appearing blurry, or the sound not coming through the connected speakers.
With a little knowledge of HDMI versions, supported resolutions, and display modes, you can ensure that your display works perfectly, whether you are using a 1080p Full HD display or a 4K UHD monitor.
Additionally, we will dive into key HDMI specifications like HDMI 1.4, 2.0, and 2.1, explaining their differences and helping you choose the right version for your needs.
Introduction to HDMI Output Settings: Optimizing Your Display Experience
Checking the Hardware Requirements
Before diving into the HDMI setup process, it’s important to ensure that both your computer and the display device are compatible with HDMI. Here’s a list of things you need to check:
- HDMI Ports: Most modern PCs and laptops come equipped with HDMI ports. However, some compact laptops may only have USB-C or mini HDMI ports. If that’s the case, ensure you have the correct adapter to convert to standard HDMI.
- HDMI Version: Your devices should support a common HDMI version (HDMI 1.4, 2.0, or 2.1) to ensure compatibility with high-definition resolutions (e.g., 4K, 8K). HDMI 2.0 or higher is recommended for 4K resolution at 60Hz.
- Cable Quality: The quality of the HDMI cable affects signal quality. For high-definition displays, especially at resolutions above 1080p, ensure you are using a high-speed HDMI cable that supports 4K or 8K video output.
- Operating System Compatibility: Windows 11 fully supports HDMI output, but it’s essential to ensure that your operating system is updated with the latest patches to avoid compatibility issues.
Connecting the HDMI Cable
Now that you’ve verified the hardware, follow these simple steps to connect the HDMI cable:
- Plug the HDMI cable into your PC or laptop: Most laptops and PCs have an HDMI port located on the side or back. Insert one end of the HDMI cable into the HDMI output port of your device.
- Connect the other end to the display device: Insert the other end of the HDMI cable into the HDMI input port of your monitor, TV, or projector.
- Turn on the display device: Power on your TV, monitor, or projector, and select the HDMI input source that corresponds to the port you’ve used (e.g., HDMI 1, HDMI 2).
- Ensure HDMI connection recognition: Windows 11 should automatically detect the connected display and configure the necessary settings. If not, manually trigger the detection process via the “Display Settings.”
Configuring Display Settings in Windows 11
Once the HDMI cable is connected, Windows 11 allows you to customize your display settings for the best performance. Here’s how to adjust your settings:
- Open Display Settings: Right-click on the desktop and select Display Settings from the context menu.
- Choose Display Arrangement: Under the “Multiple displays” section, select the connected HDMI display. You can arrange the displays by dragging them into the desired positions.
- Select Display Mode: Windows 11 offers several display modes:
- Duplicate Display: Displays the same content on both screens.
- Extend Display: Expands the desktop across both screens.
- Second Screen Only: Uses only the HDMI-connected display as the primary screen.
- Adjust Resolution: Ensure that the resolution is set according to the capabilities of your HDMI display. For example, a 4K monitor should be set to 3840×2160 resolution. Adjust this in the Display Settings under the Display Resolution dropdown.
- Set Refresh Rate: If your HDMI display supports a high refresh rate (e.g., 120Hz or 144Hz), make sure to adjust this setting to match the monitor’s capability for smooth motion display.
Switching to HDMI as the Primary Display
To make the HDMI display your primary monitor, follow these steps:
- Open Display Settings: Navigate to Settings > System > Display.
- Select the HDMI Display: Click on the monitor icon representing the HDMI-connected display.
- Set Primary Display: Scroll down and check the box labeled Make this my main display. This ensures that Windows 11 will prioritize the HDMI monitor as the main screen for taskbars, icons, and other UI elements.
Adjusting Resolution and Display Settings
The resolution setting is a crucial aspect of HDMI output, as it determines the clarity of the image displayed. Follow these tips to adjust resolution and display settings:
- Optimal Resolution: Always select the native resolution of your HDMI display (e.g., 1920×1080 for Full HD, 3840×2160 for 4K).
- Color Calibration: Under Display Settings, click Advanced Display Settings to adjust color calibration for more accurate color representation, especially when working with creative tasks.
- Sharpness and Contrast: Adjust sharpness and contrast on both the monitor and Windows 11 settings to enhance image clarity. Many monitors offer settings that can be accessed via the on-screen menu for further optimization.
Troubleshooting HDMI Issues on Windows 11
Common HDMI Problems on Windows 11
Although HDMI is designed to be plug-and-play, users may experience issues such as:
- No Signal: The display remains blank even after proper connection.
- Resolution Issues: The connected display shows an unsupported resolution.
- Audio Problems: Sound doesn’t transmit through HDMI to the TV or external speakers.
- Flickering Screen: The screen may flicker intermittently, often due to resolution or refresh rate mismatch.
Troubleshooting Methods for HDMI Not Working
Here are some proven methods to resolve HDMI output problems on Windows 11:
Check the HDMI Cable and Ports
- Inspect the cable: Ensure the cable is securely plugged in and is not damaged. Try a different HDMI cable to rule out cable issues.
- Test different ports: If the device has multiple HDMI ports, try switching to another one to rule out a faulty port.
Restart and Reconnect Devices
- Power cycle your devices: Unplug both your computer and the display device, wait for a few seconds, and reconnect them.
- Reboot Windows 11: Sometimes, simply restarting Windows 11 can fix HDMI-related issues.
Update Graphics Drivers
- Outdated or incompatible drivers are a common cause of HDMI issues. To update drivers:
- Open Device Manager and expand Display Adapters.
- Right-click on your graphics card and select Update Driver.
- Choose Search automatically for drivers to allow Windows 11 to install the latest updates.
Adjust Display Settings
- Ensure the correct display resolution is selected in the Display Settings for both the HDMI-connected monitor and your PC.
Check Audio Settings
- If sound isn’t playing through HDMI, open Sound Settings and ensure the HDMI output device is selected as the default audio device.
Use the Windows 11 Troubleshooter
- Windows 11 has a built-in troubleshooter that can automatically detect and resolve HDMI issues. To run it:
- Go to Settings > Update & Security > Troubleshoot.
- Select Additional troubleshooters, then choose Playing Audio or Display Problems to follow the on-screen instructions.
Tips and Best Practices for HDMI Output on Windows 11
Tips for Optimizing HDMI Performance
To get the best performance from your HDMI setup, consider these tips:
- Use high-quality HDMI cables: Choose cables that support the highest resolution and refresh rates for optimal performance.
- Check the display’s native resolution: Always set the resolution to match the native capabilities of the HDMI-connected device.
- Adjust refresh rate: If your display supports higher refresh rates, ensure the settings are configured correctly for smooth visuals.
Frequently Asked Questions (FAQs)
Why Isn’t My Laptop Recognizing the HDMI Device?
This can occur if the HDMI cable or port is faulty or if your display settings haven’t been correctly configured. Try restarting your PC or using a different HDMI cable or port.
How Do I Switch Between Multiple HDMI Displays?
To switch between displays, open Display Settings and use the display arrangement options to select the active display. You can extend, duplicate, or set one HDMI display as primary.
How Do I Fix Poor Display Quality Over HDMI?
Ensure that you are using the correct resolution, refresh rate, and color settings. Additionally, ensure that the HDMI cable is of high quality and supports the display’s resolution.
Can I Use HDMI to Connect to a Projector on Windows 11?
Yes, you can use HDMI to connect your Windows 11 PC or laptop to a projector. Just select the projector as your display device in the Display Settings.
Conclusion
HDMI output settings on Windows 11 are straightforward, but ensuring optimal settings requires attention to detail.
From setting up the HDMI connection to troubleshooting common issues, following the steps outlined in this guide will help you get the most out of your HDMI devices.
Whether you’re connecting to a TV, monitor, or projector, these tips will ensure that you have a seamless audio-visual experience. Always remember to check your hardware, update your drivers, and adjust your settings to suit your display’s capabilities for the best performance.