Last Updated:
Windows 11 introduces a redesigned context menu that appears when you right-click on an item.
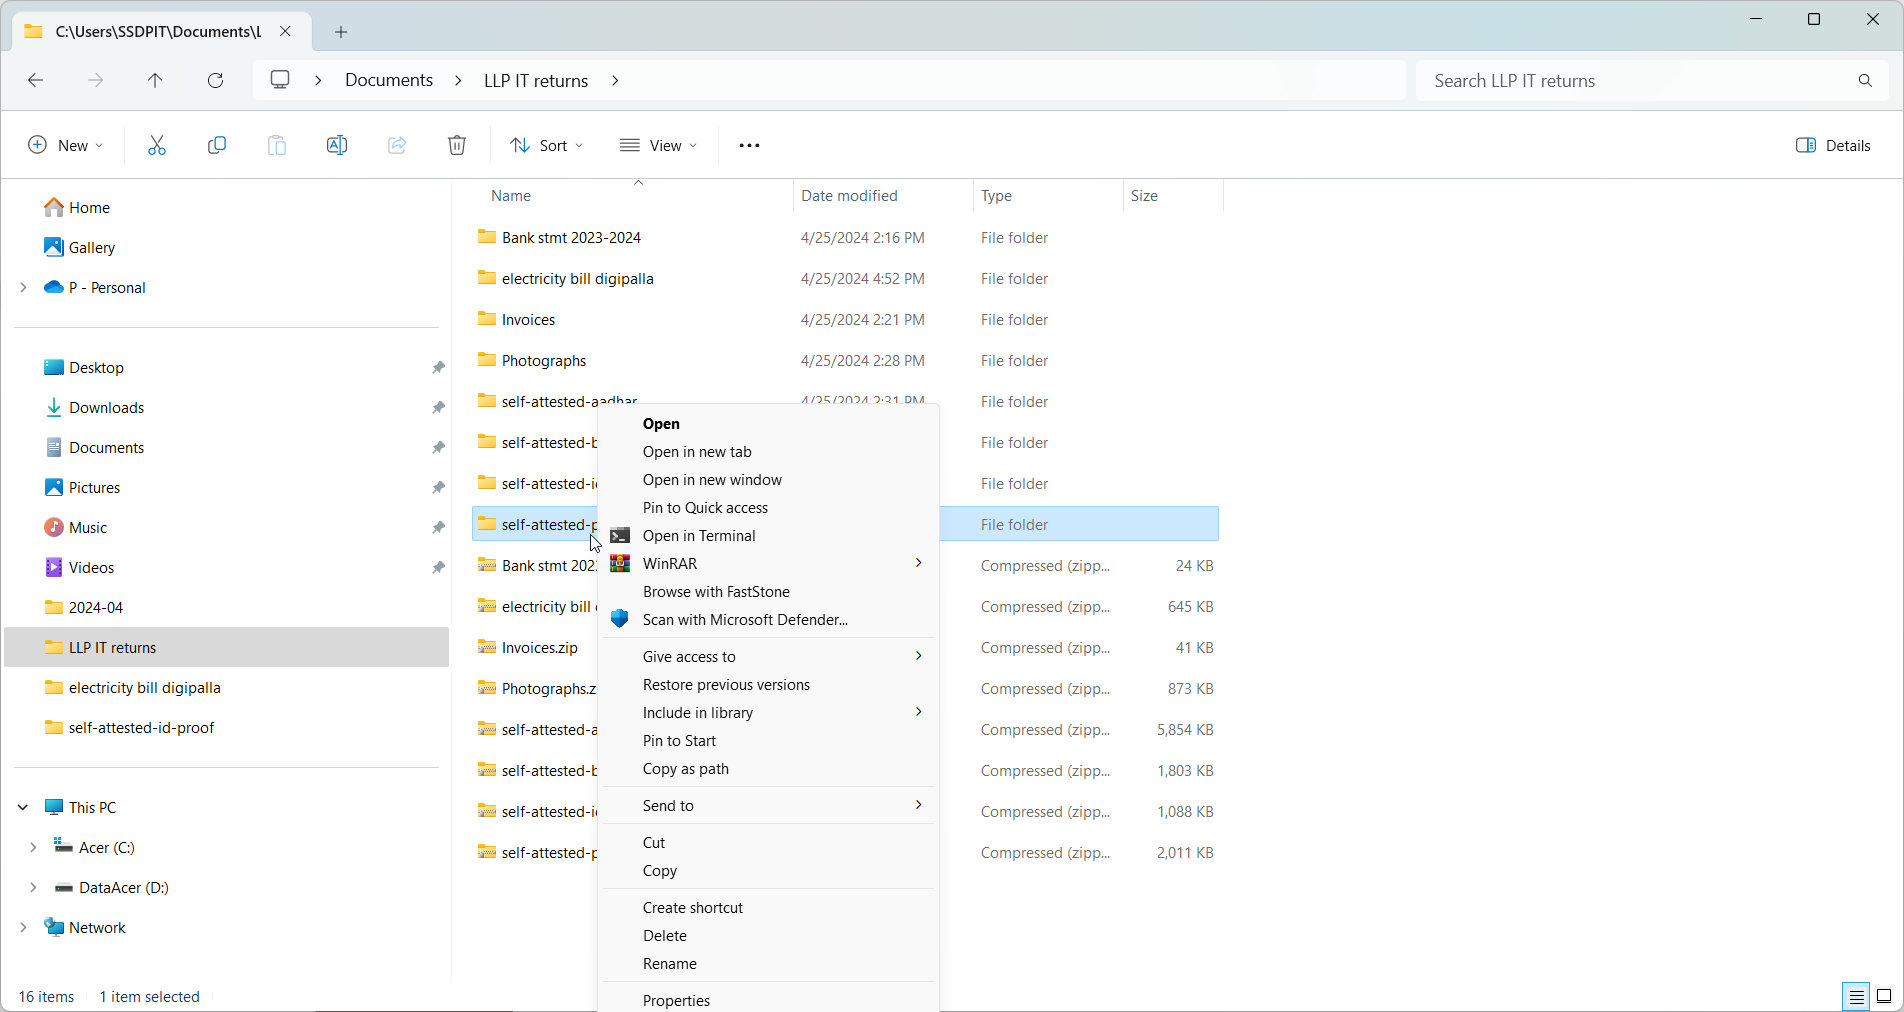
This new menu features a more compact and streamlined design, displaying only the most commonly used options. But it is annoying to some users, as you always have to click that option to display further settings.
To access additional options, users can click on the “Show more options” button at the bottom of the menu, which expands to reveal the classic context menu with all available actions.
This change aims to simplify the user experience and make it easier to find the desired option quickly. However, some users may prefer the classic context menu and can follow a few steps to disable the “Show more options” button.
Step 1: Open the Registry Editor
- Press the
Windows key + Rto open the Run dialog box. - Type
regeditand press Enter to open the Registry Editor. - Click “Yes” if prompted by the User Account Control (UAC) to allow the Registry Editor to make changes to your device.
Step 2: Navigate to the Windows 11 Context Menu Key
- In the Registry Editor, navigate to the following key:
HKEY_CURRENT_USER\Software\Classes\CLSID- Right-click on the
CLSIDkey, select “New,” and then click on “Key.” - Name the new key
{86ca1aa0-34aa-4e8b-a509-50c905bae2a2}.

Step 3: Create a New Key for InprocServer32
- Right-click on the newly created
{86ca1aa0-34aa-4e8b-a509-50c905bae2a2}key, select “New,” and then click on “Key.” - Name the new key
InprocServer32.
Step 4: Modify the Default Value of InprocServer32
- Double-click on the
(Default)value in the right pane of theInprocServer32key. - In the “Edit String” window, leave the “Value data” field blank.
- Click “OK” to save the changes.
Step 5: Restart File Explorer
- Open the Task Manager by right-clicking on the taskbar and selecting “Task Manager” or by pressing
Ctrl + Shift + Esc. - In the Task Manager, navigate to the “Processes” tab.
- Locate and select “Windows Explorer” in the list of processes.
- Click on the “Restart” button in the bottom-right corner of the Task Manager window.
After completing these steps and restarting File Explorer, the classic context menu will appear by default when you right-click on an item in Windows 11. The “Show more options” button will no longer be displayed.
Note: Modifying the registry can cause serious issues if done incorrectly. It is recommended to create a system restore point or back up your registry before making any changes.
If you want to revert the changes and restore the Windows 11 context menu, simply delete the {86ca1aa0-34aa-4e8b-a509-50c905bae2a2} key that you created in Step 2 and restart File Explorer.
How to use Command Prompt to Disable Show More Options in Windows 11
It may be tedious and complicated to edit the registry. But an easier way is to make use of the command prompt to add the required keys to the registry.
- Open the command prompt by typing “cmd” in the search box.
- Right-click and run as administrator.
- In the command line window, enter the following command.
reg add HKCU\Software\Classes\CLSID\{86ca1aa0-34aa-4e8b-a509-50c905bae2a2}\ InprocServer32 /ve /d “” /f
4. Press Enter and restart the computer.
You should now see the traditional context menu with all the options. But if you have a long context menu, then it is advisable to keep the new context menu, as it will reduce the congestion.