Whether you’re connecting your PC or laptop to a secondary display, projector, or television, optimizing these settings ensures seamless video and audio performance.
Many users transitioning from Windows 10 HDMI settings find the process slightly altered in Windows 11, necessitating clear instructions to adapt quickly.
Understanding HDMI settings Windows 11 is essential not just for tech enthusiasts but also for professionals and casual users alike.
Whether you’re attempting to set up a home theater, connect to an external monitor for enhanced productivity, or simply looking to switch displays effortlessly, configuring your HDMI display settings Windows 11 correctly can make a significant difference.
Furthermore, if you’re puzzled about how to change HDMI settings on laptop or are confused between the previous HDMI settings Windows 10 interface and the newer layout, our guide simplifies these technicalities.
From setting your default HDMI Windows 11 display output to troubleshooting issues related to Windows 11 HDMI input, this article addresses it all.
By mastering these straightforward processes, you’ll be equipped to make the most out of your laptop or PC’s HDMI capabilities, ensuring an optimal user experience every time.
Check the HDMI connectivity before you change any settings. Video and audio should come out normal. Select the correct port and display unit. We will delve deeply into HDMI port settings Windows 11, providing step-by-step solutions to common issues users encounter.
This comprehensive guide explores how you can easily configure and troubleshoot HDMI settings on laptop Windows 11, ensuring optimal viewing quality and hassle-free connectivity.
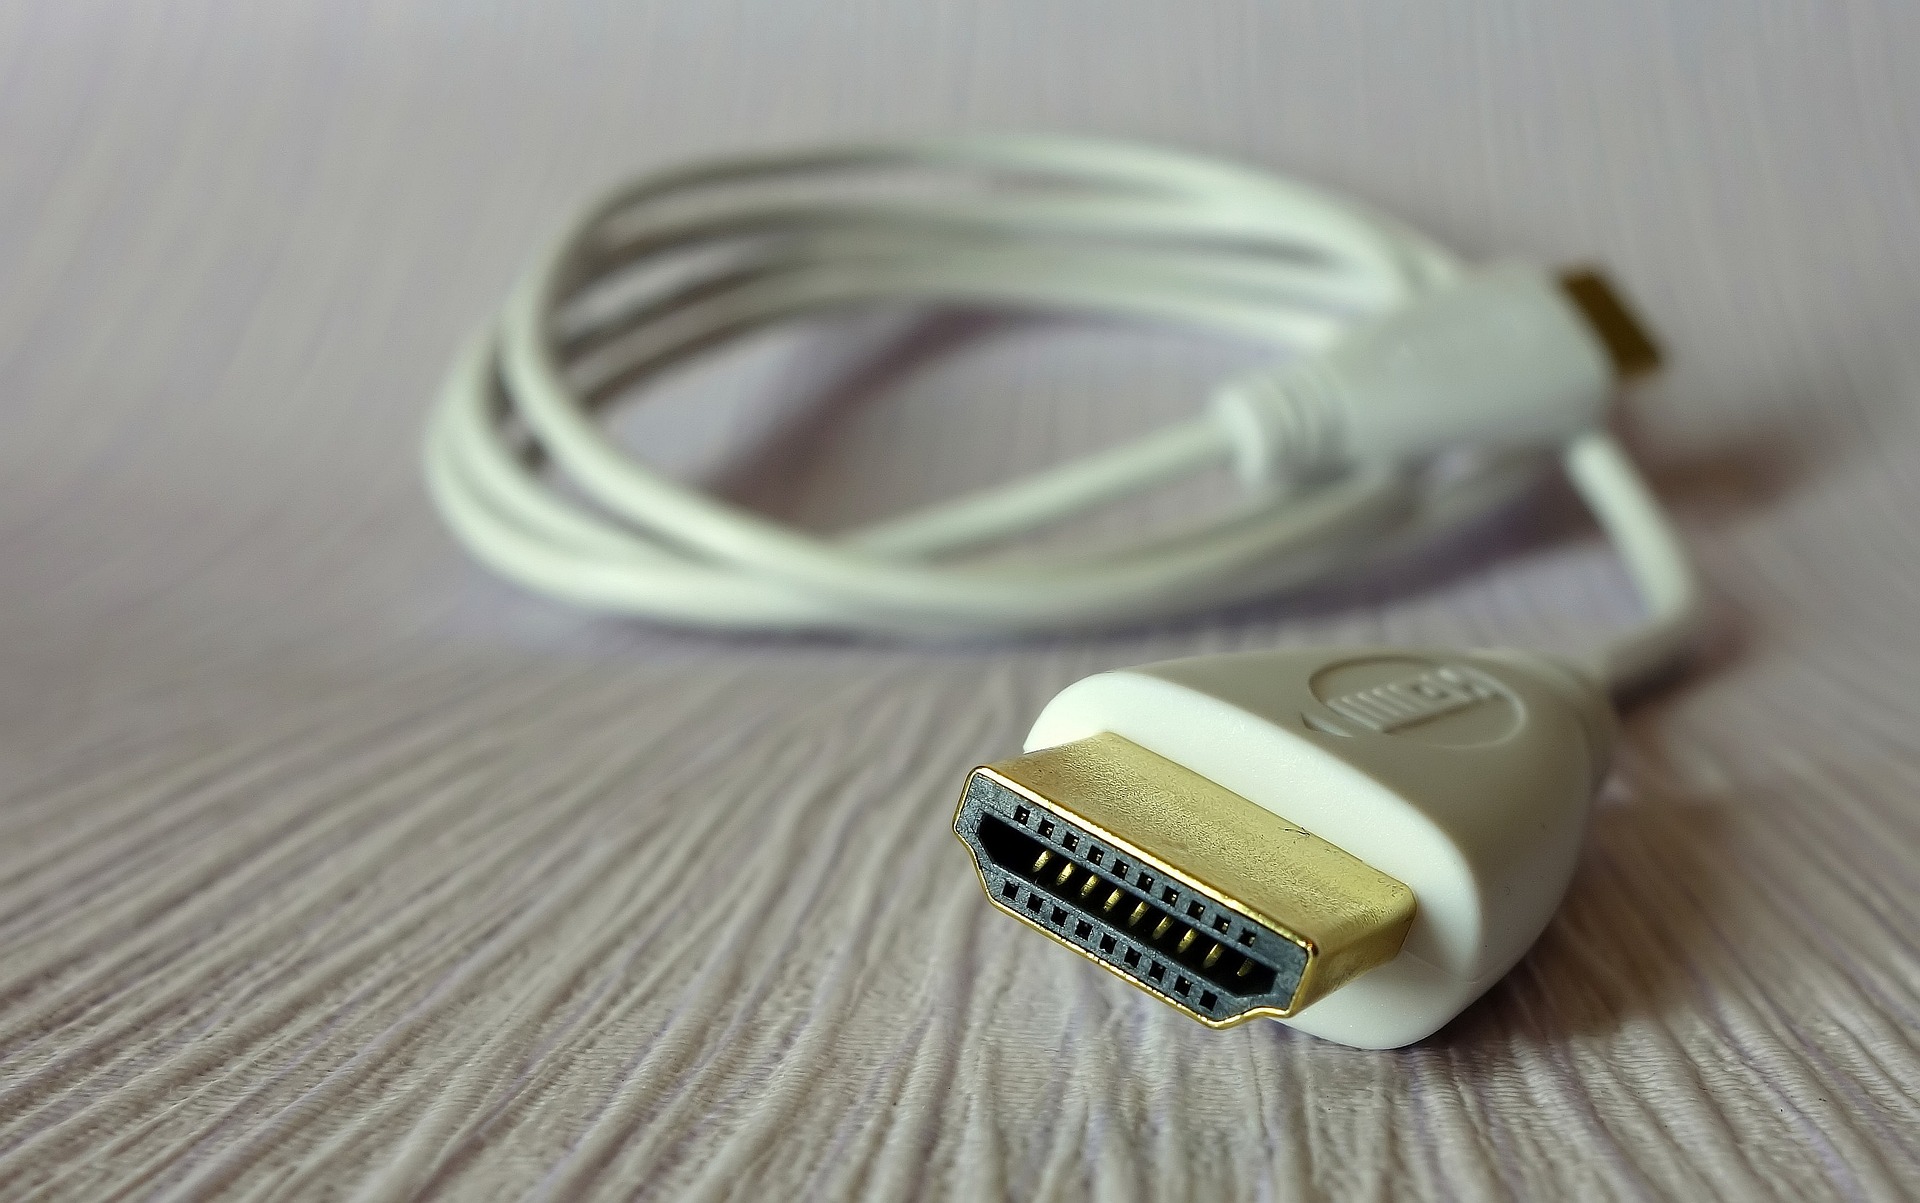
Why do you need to correct Windows 11 HDMI Settings?
If you want to use a pc screen only, then not much changes are required to these settings. Windows updates to the drivers are to be done from time to time.
Multi monitor setup is also provided in the Windows 11 screen settings. If you are using the same computer, but different displays, then you can select the default one.
Otherwise, the display may not come from the required device. The HDMI device needs to be selected in these settings.
Change the screen brightness as to your requirement. If the color is too heavy or the contrast is too bright, you can change in the HDMI settings.
Display resolution and orientation are one of the important settings for your Windows 11 HDMI device. You can change them here.
How to Switch HDMI on Windows 11: A Step-by-Step Guide
Switching to HDMI on Windows 11 allows users to connect their PC or laptop to an external display such as a monitor, TV, or projector. If you are unsure how to switch HDMI on Windows 11, follow this guide to ensure a seamless transition to your preferred HDMI output.
Step 1: Connect Your HDMI Cable
Before changing any settings, ensure that your HDMI cable is properly connected.
- Insert one end of the HDMI cable into your PC’s HDMI port.
- Connect the other end to your external display (TV, monitor, or projector).
- Turn on the external display and set it to the correct HDMI input using the TV or monitor remote.
Step 2: Change the Display Mode
To switch to HDMI on Windows 11, follow these steps:
- Press Windows + P on your keyboard.
- A Project menu will appear with the following options:
- PC screen only – Displays content only on your primary screen.
- Duplicate – Mirrors your primary display on the external screen.
- Extend – Expands your desktop across both screens.
- Second screen only – Displays content only on the external screen.
- Choose the appropriate display mode based on your preference.
Step 3: Set HDMI as the Primary Display
If you want to use your external monitor or TV as the primary display, follow these steps:
- Right-click on the desktop and select Display settings.
- Scroll down to Multiple displays.
- Click on Identify to recognize displays.
- Select the HDMI-connected display.
- Check the box that says Make this my main display.
- Click Apply to save changes.
Step 4: Adjust HDMI Display Settings
If the resolution or scaling doesn’t look right, adjust the settings:
- Go to Settings > System > Display.
- Select the HDMI-connected display.
- Scroll to Display resolution and select the recommended resolution.
- If needed, adjust Scale and layout to fit your screen properly.
- Click Apply to save changes.
Step 5: Set HDMI as Default Audio Output
If you are not getting sound through HDMI, you may need to change the audio settings:
- Right-click the sound icon on the taskbar and select Sound settings.
- Scroll down to Output devices.
- Select the HDMI-connected display as the default output device.
- Test the audio to ensure it works.
Step 6: Update Graphics Drivers (If Necessary)
If your HDMI display is not working, updating your graphics driver can resolve the issue:
- Right-click on the Start menu and select Device Manager.
- Expand Display adapters.
- Right-click on your graphics card and select Update driver.
- Choose Search automatically for drivers.
- Restart your PC after updating.
Make HDMI monitor as default Display
- Press Win + I keys to open Settings app.
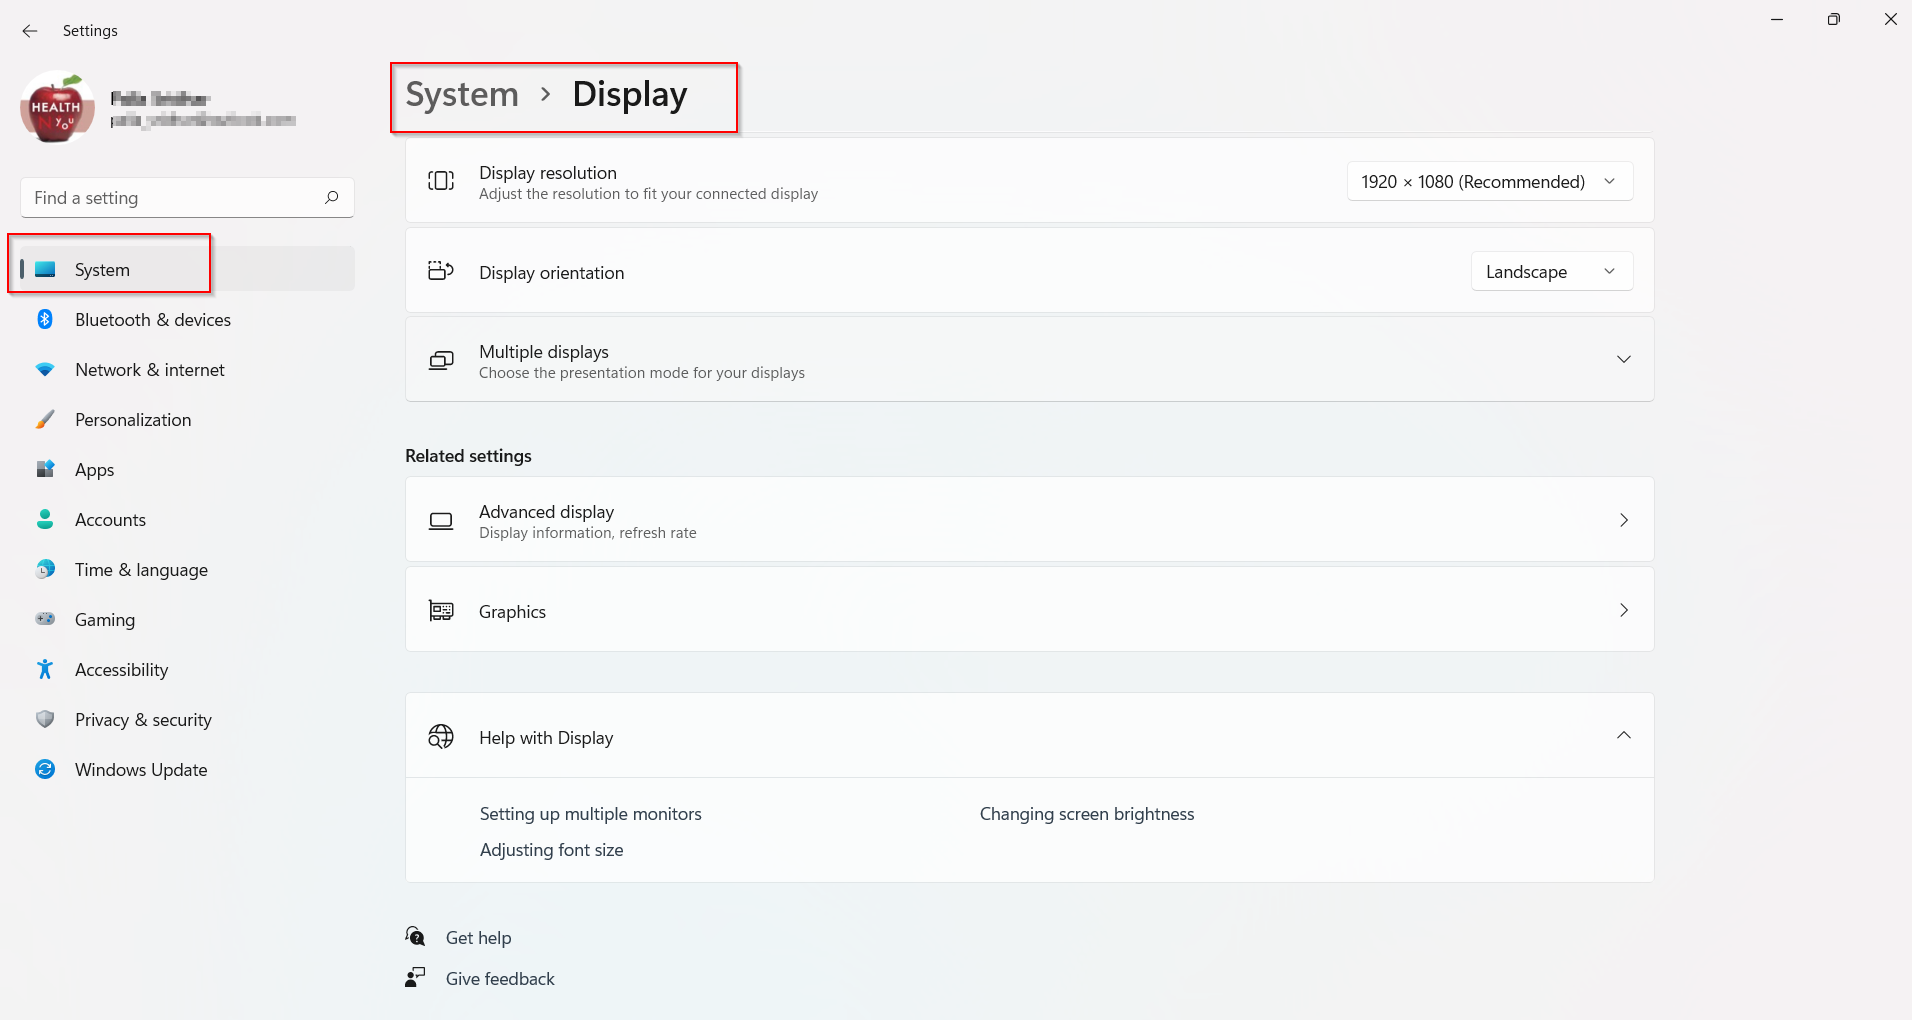
- Click System on the left and Display on the Right-hand side.
- Note: Windows 10 settings are a little different.
- HDMI screen settings are visible here.
- Click on Multiple displays under the Scale & layout section.
- Make this my main display option visible if there are multiple monitors.
- Check it and the HDMI screen becomes the default display device.
After making your monitor or 4K UHD Smart TV as the default screen, you can continue to change other HDMI screen settings. The following are available under the display setting.
Common HDMI Settings Windows 11 Issues and Solutions
- HDMI Not Detecting the Display
- Check if the HDMI port settings Windows 11 are configured correctly.
- Press Windows + P and select Extend or Duplicate mode.
- Update your display drivers via Device Manager.
- How to Switch to HDMI on PC Windows 11
- Open Settings > System > Display.
- Scroll to Multiple displays and select the connected HDMI device.
- Ensure HDMI input is selected as the primary display.
- How to View HDMI on Laptop Windows 11
- If using an external monitor, press Windows + P and choose Extend.
- Set the correct display mode in Display Settings.
- No Audio from HDMI Windows 11
- Right-click on the speaker icon in the taskbar and select Sounds.
- Go to Playback and set the HDMI device as the default output.
- How to Change HDMI Settings on Laptop
- Navigate to Control Panel > Sound > Playback and configure HDMI audio.
- Use the Intel Graphics Command Center or NVIDIA Control Panel to adjust HDMI resolution and scaling.
Different Windows 11 HDMI Screen Settings
- Scale
- Display Resolution
- Display orientation
- Night light
- Color Profile
- HDR
Let’s see the details of each Windows 11 HDMI setting.
1. Scale
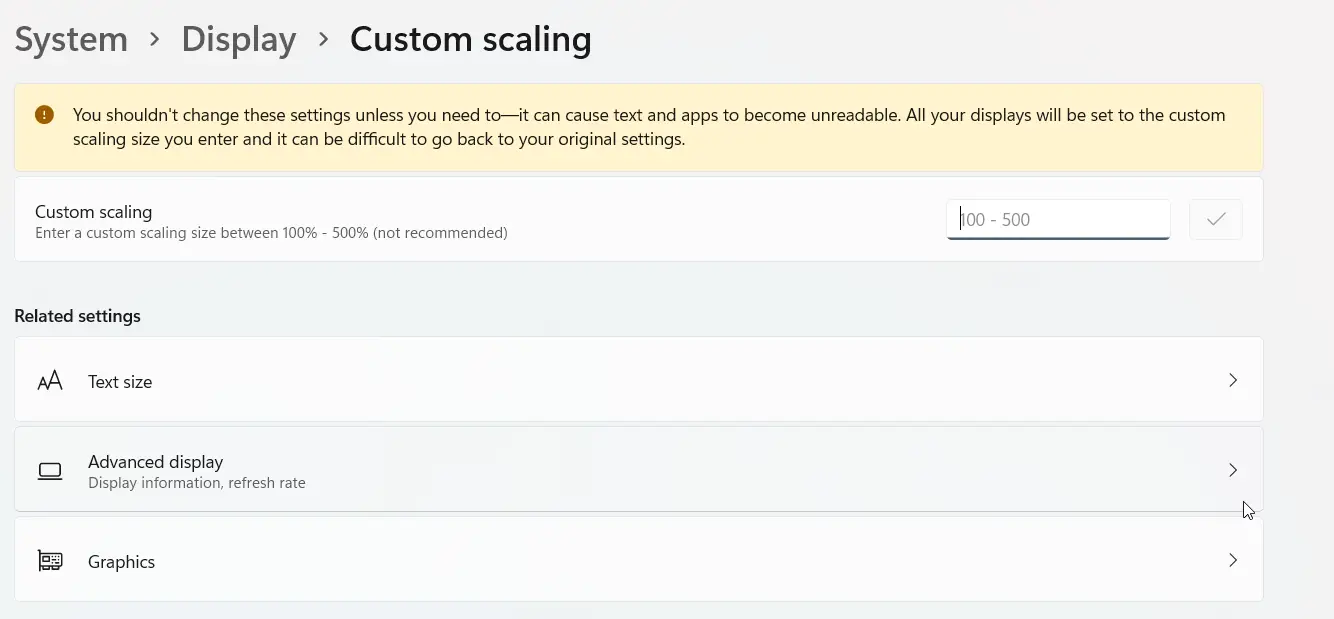
You can change the size of text, apps and other items here. By default it will be 100%. But if the text is too small to see on the monitor, you can increase it to 125%. Other options are like 150%, 175%.
Click the arrow indicator for further customization. You can set custom scaling. But it should be done with caution. As this setting is irreversible, only do it if the Windows 11 screen doesn’t fit your monitor.
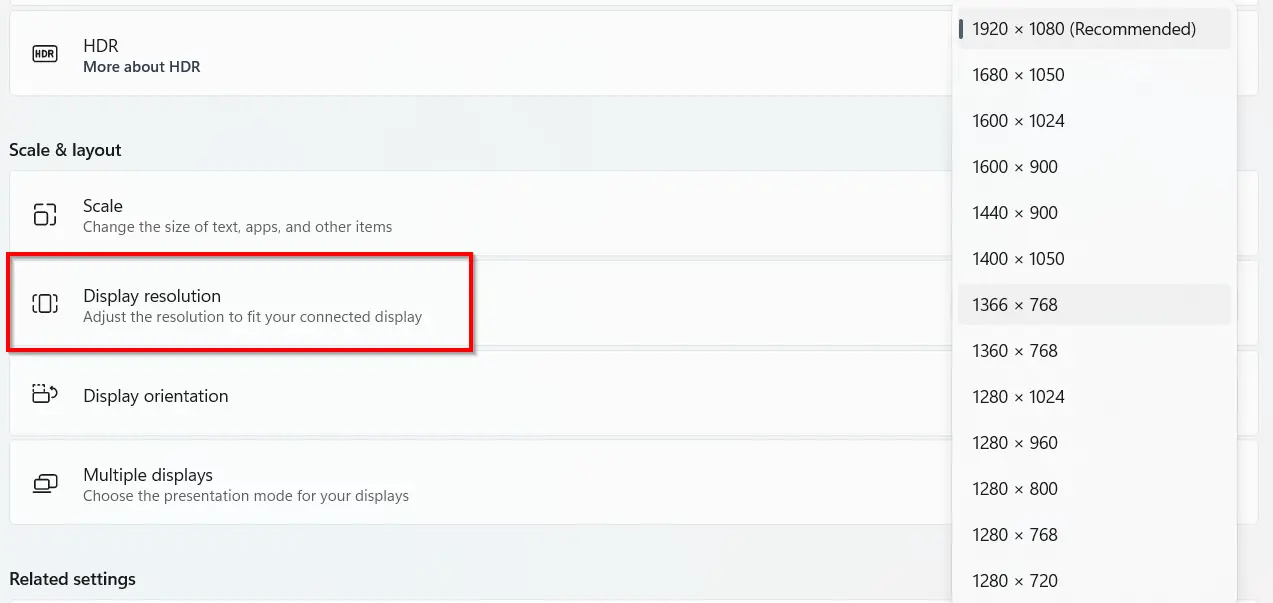
2. Display Resolution
It is one the most important HDMI settings of Windows 11. Based on TV or monitor these values are populated. The recommended screen resolution is taken as default.
But if you find that the current resolution is not displaying properly on your screen, then you can change the values here.
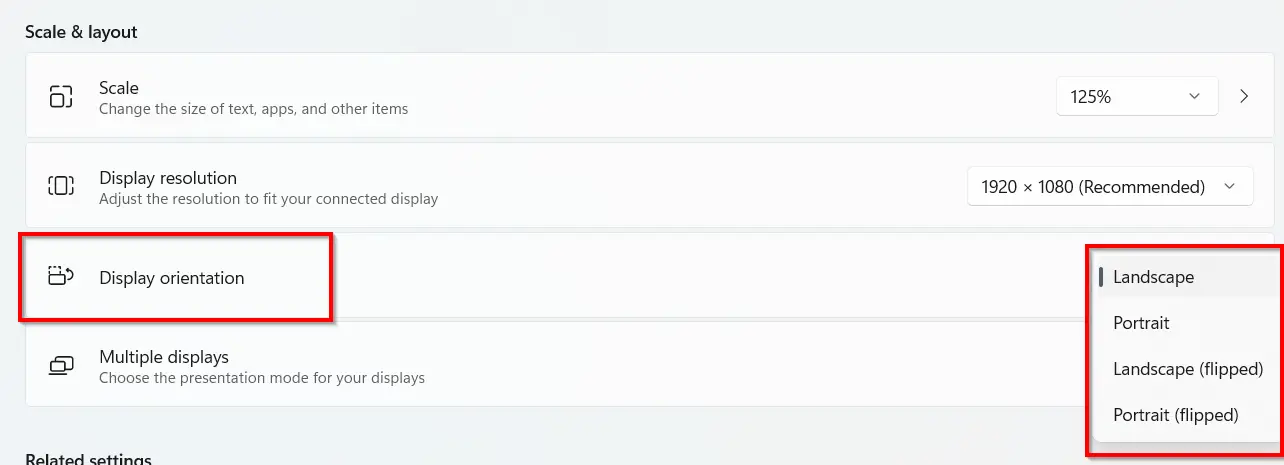
3. Display Orientation
Based upon the size of the TV screen or display, you can decide to keep Landscape or Portrait orientation.
In some cases the aspect ratio is 4:3, where you can set Portrait mode. If the screen size is 16:9, then you can choose Landscape. Flipped versions are also available.
4. Night light
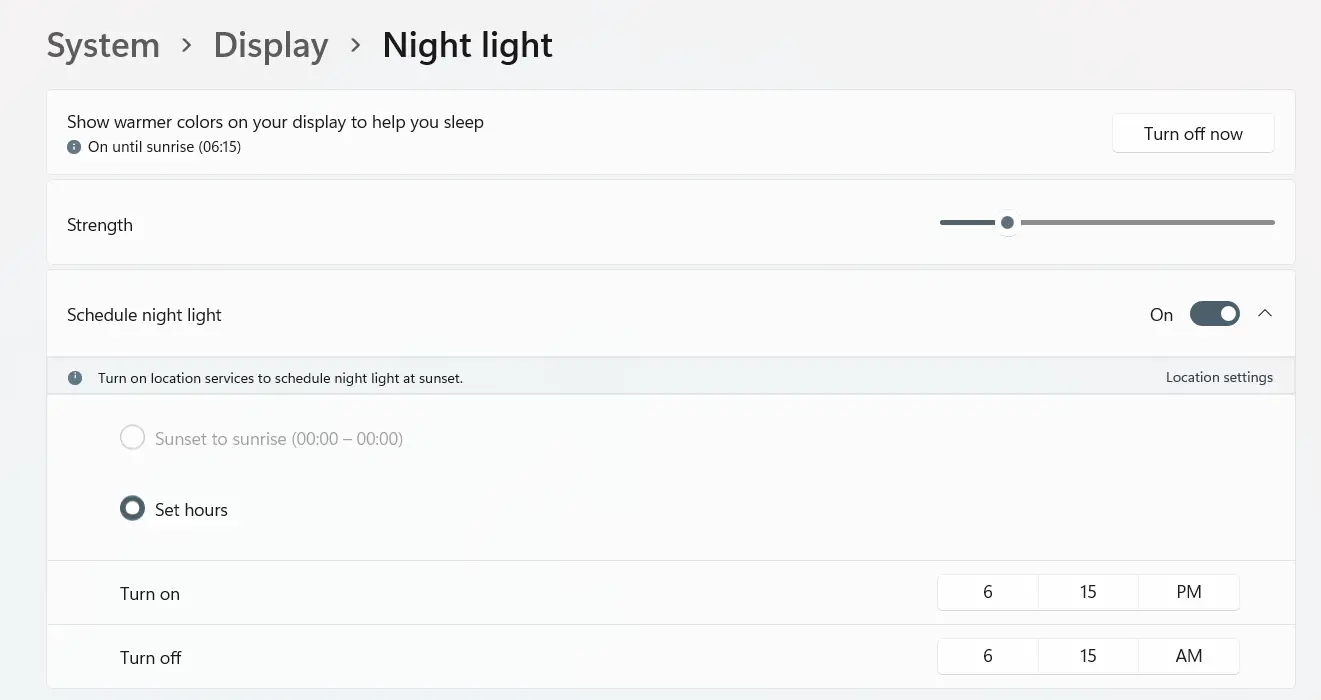
Turn on this option if you want to use warmer colors to help block blue light on your monitor. You can also set the start and end hour:min timings.
More advanced settings like the strength of warmth can be set here.
5. Color Profile
If you are playing games and have a good graphics card, you can set the color profile. For a normal monitor, it will display its name.
But you can adjust the way colors appear on your screen by selecting the amount of RGB colors. You can set a color profile provided by your graphics card or create a new one.

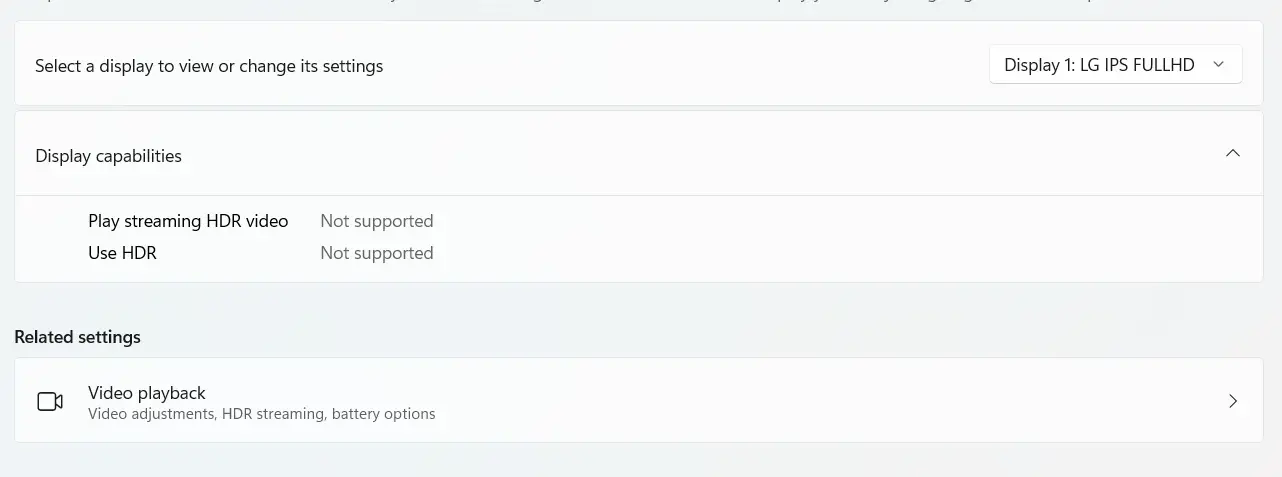
6. HDR
Using this setting you can get a more brighter and vibrant picture for a high dynamic range of colors. It should be supported by your graphics card or motherboard and the monitor.
This HDMI setting is useful for games and motion pictures.
Conclusion
Configuring HDMI settings Windows 11 correctly ensures a seamless experience when connecting your PC or laptop to an external display.
If you’re wondering how to switch HDMI on Windows 11, always check the HDMI settings on PC to make sure the correct output is selected.
Additionally, knowing how to enable HDMI port on Windows 11 can prevent connectivity issues and improve display performance.
For users asking how to connect laptop to TV with HDMI Windows 11, ensure your laptop’s HDMI settings are properly configured in the Windows HDMI settings menu.
Similarly, if you need to know how to connect laptop to monitor HDMI Windows 11, adjusting your laptop HDMI settings and selecting the right display mode will provide the best results.
If you need to adjust your display output, understanding how to change HDMI on Windows 11 or how to change display to HDMI on Windows 11 can help you toggle between different screens effortlessly. You can also enhance the display by configuring HDMI scaling Windows 11 for optimal resolution and screen fit.
If you’re still wondering where to find HDMI settings Windows 11 or experiencing issues like unrecognized displays, refer to HDMI settings Windows within the Windows Settings panel or check for driver updates. Whether you’re learning how to switch to HDMI on HP laptop Windows 11 or troubleshooting a display issue, these steps will help you achieve a smooth HDMI experience.
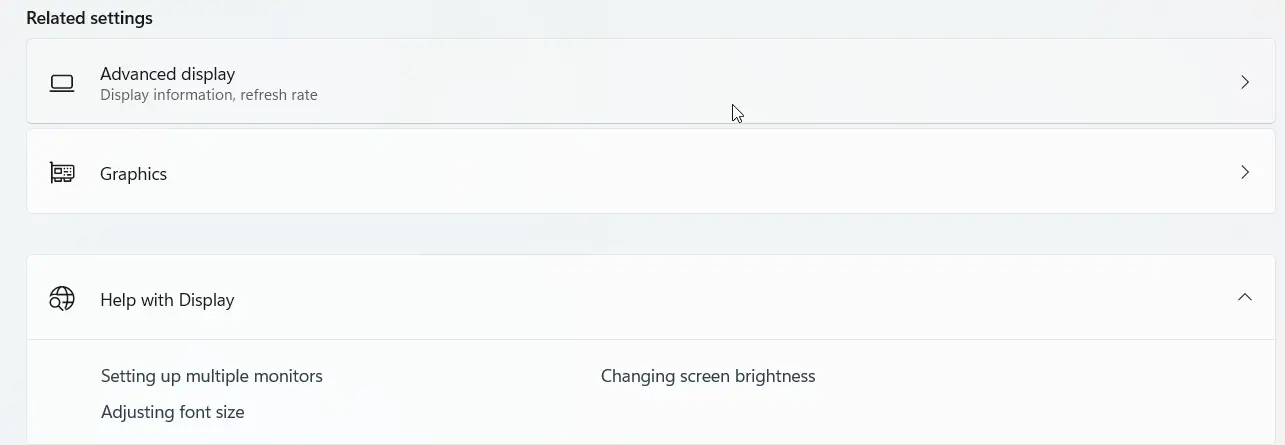
Change the screen refresh rate if you have any problem with the current display.
Graphics setting allows different apps to set different display settings based on your motherboard and graphics card.


![Change Default Download Location in Windows 11 [Including Edge and Chrome] 14 Change Default Download Location In Windows 11 [Including Edge And Chrome]](https://www.windowstechit.com/wp-content/uploads/2023/08/where-new-content-saved-windows-11-768x572.png)

