

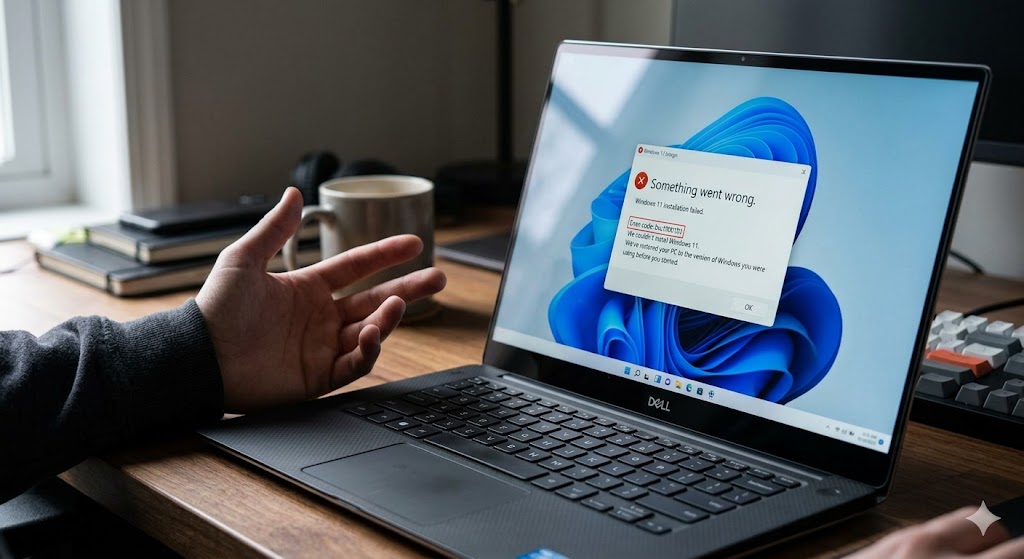
If you’ve been staring at the message “Install error – 0xc1900101” after your Windows 11 upgrade rolled back, you’re not alone.
The frustrating part? Windows just silently rolls back and offers no clear explanation.
In this guide, I’ll walk you through exactly what causes error 0xc1900101, which variant of the code you’re dealing with, and the 5 community-verified fixes that have been confirmed to have solved the issue by real users on Microsoft Q&A, ElevenForum, and Sysnative Forums.
These aren’t generic tips—they’re the ones that have “Solved” tags and dozens of upvotes.
Let’s get your Windows 11 upgrade back on track.
What Is Error 0xc1900101? (Featured Snippet)
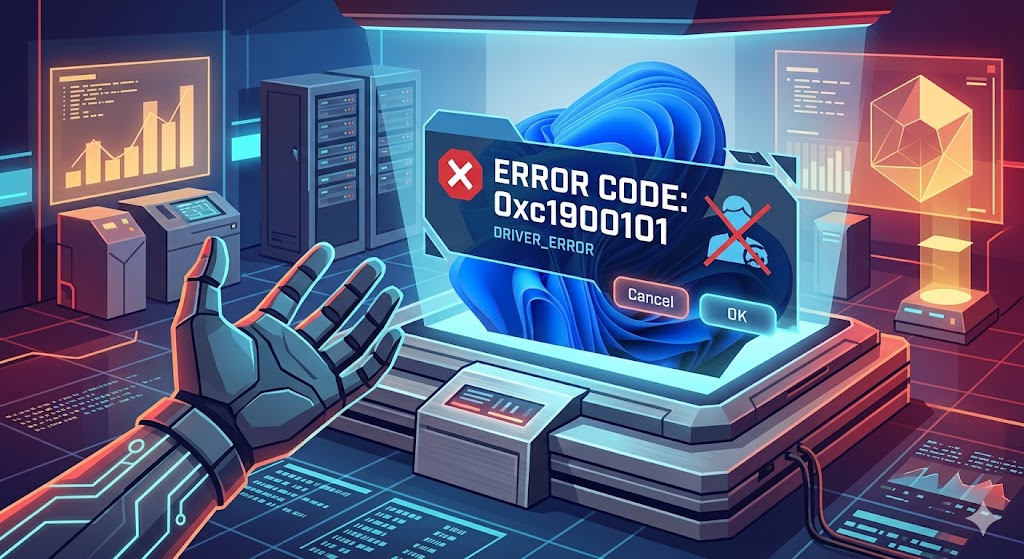
Error 0xc1900101 is a Windows 11 driver compatibility error that occurs during OS installation or feature updates. It typically causes the setup process to roll back to the previous Windows version. The error appears during phases such as SAFE_OS, MIGRATE_DATA, or FIRST_BOOT and almost always points to a driver or third-party software conflict blocking the upgrade.
Quick Definition (40 words): Error 0xc1900101 is a Windows 11 upgrade error triggered by incompatible or outdated drivers. It causes the installation to fail and roll back, often appearing alongside a phase code like 0x20017, 0x3000D, or 0x4000D.
Common 0xc1900101 Variant Codes Explained
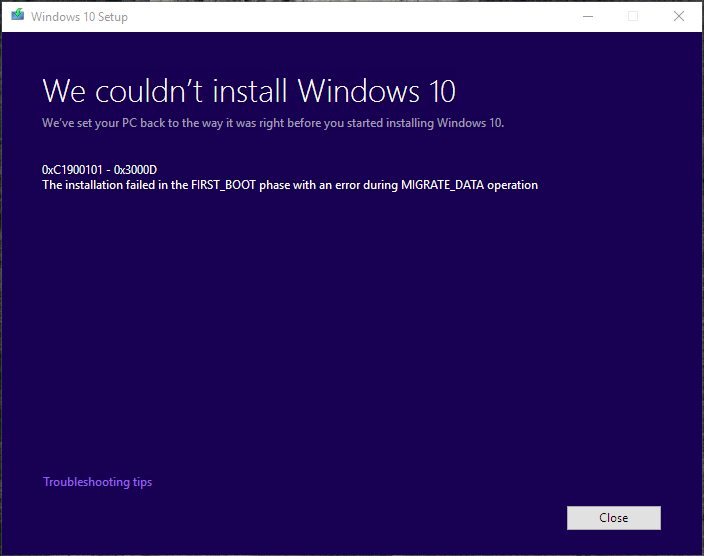
Different phase codes attached to 0xc1900101 provide you a clue about where the upgrade failed:
| Error Code | Failure Phase | What It Means |
|---|---|---|
| 0xC1900101 – 0x20017 | SAFE_OS / BOOT | The driver failed during early boot setup |
| 0xC1900101 – 0x30018 | FIRST_BOOT | Windows couldn’t initialize; driver conflict |
| 0xC1900101 – 0x3000D | FIRST_BOOT / Migrate data | Driver issue during data migration |
| 0xC1900101 – 0x4000D | MIGRATE_DATA | Third-party software blocking migration |
| 0xC1900101 – 0x50015 | MIGRATE_DATA | Incompatible BIOS or firmware issue |
Knowing your variant code helps you target the right fix. If you see 0x20017 or 0x30018, start with driver fixes. When you encounter 0x4000D, prioritize removing antivirus and third-party software first.
What Causes the 0xc1900101 Driver Error in Windows 11?
Based on hundreds of community-resolved threads, these are the confirmed root causes:
- Outdated or corrupted drivers – especially GPU, network, audio, chipset, and storage drivers
- Third-party antivirus software – Sophos, Bitdefender, and similar tools frequently conflict with the upgrade process
- USB peripheral drivers – external devices plugged in during setup can cause a driver hang
- Memory Integrity (Core Isolation) blocking incompatible drivers—a new and increasingly common cause with 24H2
- Corrupted system files – damaged Windows components that SFC/DISM can repair
- Insufficient disk space – Windows 11 requires at least 64 GB free storage on your system drive
- Outdated BIOS/UEFI firmware—particularly affects the 0x50015 variant
Before You Begin: Quick Pre-Fix Checklist
Before diving into fixes, run through this checklist. Many users solve the error here:
- Confirm at least 20 GB free on your C: drive (64 GB recommended)
- Check Windows Update history (Settings → Windows Update → Update history) to identify the failing update
- Run
winver.exeto confirm your current Windows 11 version - Temporarily disable antivirus (Windows Defender is fine to leave on)
- Ensure your BIOS/UEFI is up to date (check your PC manufacturer’s website)
- Back up your data before attempting any major driver changes
Fix 1 – Update or Uninstall Incompatible Drivers (Most Effective)
This solution is the #1 fix confirmed by Microsoft MVPs and community experts. The 0xc1900101 error is fundamentally a driver error, so addressing the driver is the highest-priority action.
How to Find the Problematic Driver
- Press
Win + I→ go to Windows Security → Device Security → Core Isolation Details - Click Memory Integrity
- If Memory Integrity shows incompatible drivers, it will list them by name
- Note the driver name (e.g., a network adapter driver or old GPU driver)
Alternatively, open Device Manager (⚠) and look for any device with a yellow warning triangle. That’s your problem driver.
How to Update Drivers via Device Manager
- Right-click the problematic driver → Update Driver
- Select Search automatically for drivers
- If Windows finds nothing, visit your manufacturer’s website directly (NVIDIA, Intel, AMD, Realtek, etc.)
- Download and install the latest driver manually
- Restart your PC, then retry the Windows 11 upgrade
Pro tip from the community: If updating doesn’t work, try right-clicking the driver → Uninstall device, check the box to delete driver software, reboot, and let Windows reinstall a clean version. Multiple users on ElevenForum report that this procedure resolves the error when updating alone doesn’t.
Fix 2 – Disconnect All External Peripherals and Retry
This fix sounds too simple, but it has been confirmed as the solution in dozens of “Solved” threads on Microsoft Q&A and Sysnative forums. USB peripherals—external hard drives, webcams, drawing tablets, USB hubs, even some keyboards—carry their drivers that can conflict with the setup process.
Steps:
- Shut down your PC completely
- Unplug everything except your primary keyboard and mouse
- If using a desktop, also disconnect any secondary monitors (use only one)
- Restart and immediately retry the Windows 11 upgrade via Settings → Windows Update
- Once the upgrade completes successfully, reconnect your peripherals one by one
Community confirmation: A SysNative forum moderator specifically instructed users: “Unplug all peripherals except the keyboard and mouse, and retry the 24H2 setup.” The user reported that both the 24H2 and 25H2 updates completed without issue afterward.
Fix 3 – Run a Clean Boot and Retry the Windows 11 Upgrade
A clean boot disables all non-Microsoft startup services and applications, eliminating third-party software conflicts. This is particularly effective for the 0x4000D and 0x3000D variants, where the error occurs during the MIGRATE_DATA phase.
Step-by-Step: How to Clean Boot Windows 11
- Press
Win + R, typemsconfig, and press Enter - Click the Services tab
- Check the box: “Hide all Microsoft services.”
- Click Disable All
- Click the Startup tab → click Open Task Manager
- In Task Manager, right-click each startup item and select “Disable.”
- Close Task Manager and click OK in System Configuration
- Restart your PC
- Retry the Windows 11 upgrade (Settings → Windows Update)
- After the upgrade completes, re-enable your services via
msconfig
Why it works: Third-party antivirus engines, cloud sync software (Dropbox, OneDrive), and VPN services sometimes run background processes that interfere with the Windows setup environment. A clean boot eliminates all of them temporarily.
Fix 4 – Run SFC and DISM to Repair Corrupted System Files
Corrupted Windows system files are a secondary cause of the 0xc1900101 error. The SFC (System File Checker) and DISM (Deployment Image Servicing and Management) tools can detect and repair them automatically. This solution is especially useful if your system has had previous failed updates.
SFC Scan Command
- Right-click the Start button → Terminal (Admin) or Command Prompt (Admin)
- Type the following and press Enter:
sfc /scannow- Wait for the scan to complete (can take 10–20 minutes)
- Restart your PC
DISM RestoreHealth Command
If SFC reports errors it couldn’t fix, run DISM next:
- Open Command Prompt (Admin)
- Run this command:
DISM.exe /Online /Cleanup-Image /RestoreHealth- This process can take 15–30 minutes and requires an internet connection
- Once complete, run
sfc /scannowagain, then restart - Retry the Windows 11 upgrade
Note for Indian users: If you’re on a slower broadband connection, the DISM RestoreHealth command may take longer as it downloads replacement files from Microsoft’s servers. ensure you have a stable connection before running it.
Fix 5 – Disable Memory Integrity (Core Isolation) Before Upgrading
This is the solution most competitors miss, and it’s become increasingly important since Windows 11 24H2. Memory Integrity (part of Core Isolation in Windows Security) blocks kernel access for incompatible drivers. If your system has any drivers flagged as incompatible, memory integrity will silently prevent the upgrade from completing, triggering the 0xc1900101 error.
Steps:
- Open Windows Security (search it in the Start menu)
- Go to Device Security → Core Isolation Details
- Toggle Memory Integrity to OFF
- Restart your PC
- Retry the Windows 11 upgrade
- Important: Re-enable Memory Integrity after the upgrade completes
Why this method works: During the upgrade, Windows 11’s setup needs to temporarily load older driver modules. If memory integrity is on and those drivers are flagged as incompatible, the setup hangs and rolls back. Turning it off gives the installer the access it needs to complete the upgrade and replace outdated drivers with compatible ones.
Confirmed by the community: Microsoft Q&A MVP Ramesh Srinivasan has repeatedly directed users to check Memory Integrity as a first step when diagnosing 0xc1900101, especially after uninstalling Sophos or Bitdefender.
0xc1900101 Variant Codes: Which Resolution Matches Your Error?
Use this quick reference table to match your error variant to the most effective fix:
| Error Variant | Most Likely Cause | Best Fix to Try First |
|---|---|---|
| 0xC1900101 – 0x20017 | Boot-phase driver conflict | Fix 1 (Update Drivers), Fix 5 (Memory Integrity) |
| 0xC1900101 – 0x30018 | Driver failure at first boot | Fix 2 (Disconnect Peripherals), Fix 1 |
| 0xC1900101 – 0x3000D | Data migration driver issue | Fix 3 (Clean Boot), Fix 1 |
| 0xC1900101 – 0x4000D | Third-party software conflict | Fix 3 (Clean Boot), Fix 2 |
| 0xC1900101 – 0x50015 | BIOS/firmware issue | Update BIOS from the manufacturer’s site. |
How to Read Your Windows 11 Setup Rollback Logs
If none of the fixes above work immediately, your rollback logs can pinpoint the exact driver causing the problem. Here’s how to access them:
- Open File Explorer and navigate to:
C:\$WINDOWS.~BT\Sources\ - Open the Panther folder – look for
setuperr.logandsetupact.log - Open the Rollback folder if it exists—this contains logs from when setup reversed
- Search (Ctrl+F) for the term
0xC1900101to find the relevant line - The log will show the exact
.sysdriver file that caused the failure
Once you identify the driver name, search it on your manufacturer’s website or on Google to find the latest compatible version for Windows 11.
For business users in the US and Europe: If you’re managing multiple endpoints through a tool like NinjaOne or Intune, the rollback logs $WINDOWS.~BT can be collected remotely via RMM scripts, saving significant troubleshooting time across your fleet.
Why does Windows 11 roll back after upgrading and show 0xc1900101
Windows rolls back to protect your system when a critical driver fails during setup. The rollback is intentional—Windows detects that it cannot complete the upgrade safely and reverts all changes. Once you identify and fix the problematic driver (using Device Manager or setup logs), the upgrade will complete without rolling back.
Can I force the Windows 11 24H2 upgrade if I keep getting the error 0xc1900101?
Yes, but only after resolving the driver issue. Using the Media Creation Tool to perform a clean in-place upgrade from a bootable USB bypasses some Windows Update restrictions and often succeeds when the OTA update fails. Multiple users on ElevenForum and Microsoft Q&A have confirmed this method is effective.
How do I fix 0xc1900101 on a laptop in India with slow internet?
If you’re on a slow connection, skip the DISM online repair and instead use the SFC scan first. For driver updates, download them directly from your laptop manufacturer’s support page (Dell, HP, Lenovo, or Asus) rather than relying on Windows Update. This avoids large background downloads that may fail midway.
What is the 0xc1900101 – 0x20017 error specifically?
The 0xc1900101 – 0x20017 error means that the Windows 11 upgrade failed during the SAFE_OS phase, specifically at the BOOT operation. This issue is almost always caused by a driver that fails to load correctly during the early stages of the upgrade boot environment. Updating your GPU, network, or chipset drivers usually resolves it.
How do I fix the 0xc1900101 error when upgrading to Windows 11 25H2?
Start by updating or uninstalling incompatible drivers via Device Manager. Then disconnect all USB peripherals, disable memory integrity in Windows Security, and retry the upgrade. Running a clean boot (via msconfig) before the upgrade also resolves the error in most cases, particularly for the 0x4000D variant.
Conclusion
Error 0xc1900101 is annoying, but it’s almost always fixable once you know where to look. In my experience with dozens of community-resolved threads, I have found that updating or removing incompatible drivers and disconnecting USB peripherals solve the problem for most users. If those don’t work, the clean boot method and disabling memory integrity take care of most remaining cases.
Here’s a quick recap of the five fixes:
- Update or uninstall incompatible drivers via Device Manager
- Disconnect all USB peripherals except keyboard and mouse
- Run a clean boot via
msconfigand retry the upgrade - Run SFC and DISM to repair corrupted system files
- Disable Memory Integrity (Core Isolation) temporarily before upgrading
Whether you’re in the US, Europe, or India, these solutions work on any Windows 11 system. If you’re still stuck after all 5 fixes, check your rollback logs C:\$WINDOWS.~BT\Sources\Panther\ to identify the exact driver causing the issue.
Did one of these fixes work for you? Drop a comment below and let us know which one solved it—it helps other readers identify the right fix faster.
